

- The different tools
- Which option performs best?
- The DIY solution: a phone and a computer screen
- Conclusion: a choice to be made according to the intensity of one’s practice and requirements
The different tools
There are several ways to digitize negatives:
Specialized scanners
These are Nikon Coolscan and similar models. Although now difficult to find, they offer the simplest processing method and good image quality.
Flatbed scanner
These are the Epson Perfection and similar models. Practical and easy to use, they allow you to scan multiple documents in quick succession.
They can also be used to scan other types of documents.

If you like my photos, you can buy my arwork here: https://electrocroissant.art/en/art-prints/.
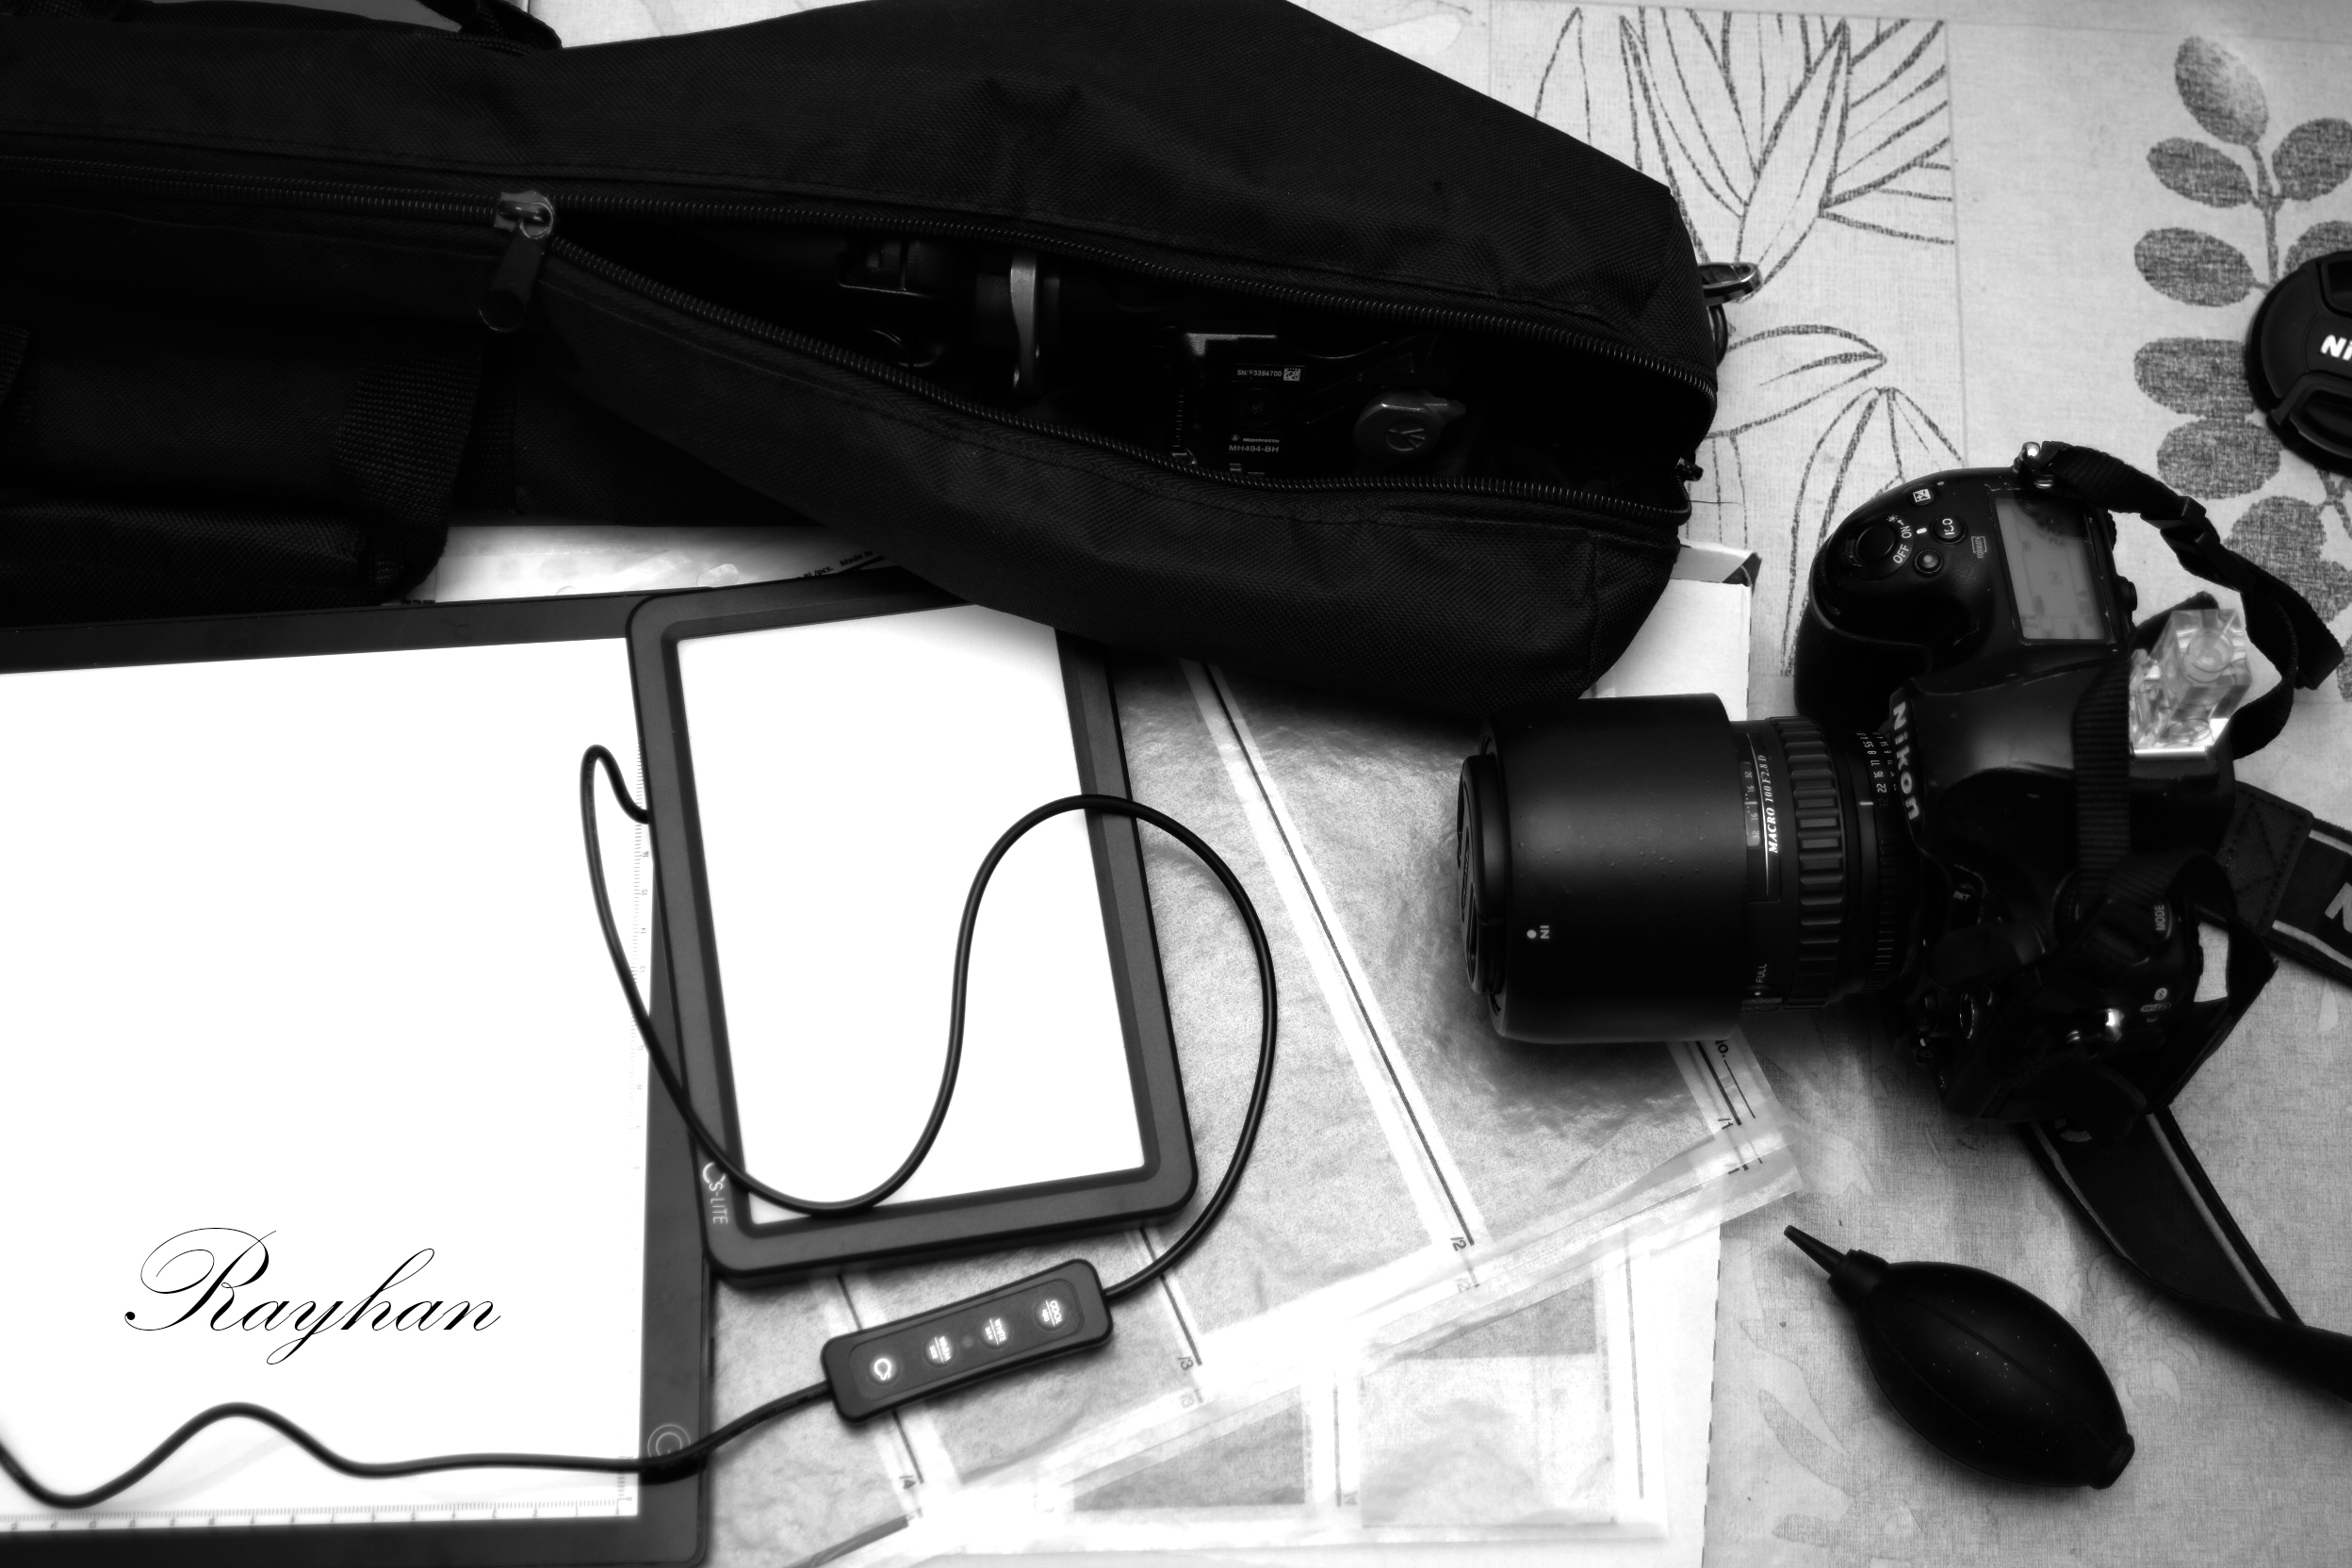
Digital camera
You can use your digital camera to digitize negatives. However, you will need to purchase a light table, a tripod, or other device to digitize your negatives.

If you like my photos, you can buy my arwork here: https://electrocroissant.art/en/art-prints/.
Which option performs best?
Image quality
Effective resolution for scanning a 35mm negative:
- 48 megapixels (lens optical limit not taken into account) for a Nikon D850 camera.
- 20 megapixels for a specialized scanner (very hard to find) such as the Nikon Super Coolscan 9000 ED [1].
- 7 megapixels for a high-end flatbed scanner like an Epson V750 Pro [2].
Ease of use
from the simplest to the most complicated
- A specialized scanner like the Reflecta RPS 10M, which allows you to scan negatives without using a flatbed scanner, is ideal. Generally, a specialized scanner will be faster than a flatbed scanner.
- A flatbed scanner is almost as convenient as a dedicated scanner. However, it will generally be less efficient in terms of speed and image quality than a dedicated scanner.
- Using a camera requires more effort and takes more time. You have to set up the tripod, make sure the negative is perfectly flat, manually trigger the shutter for each shot, and perform a few extra steps in post-processing.
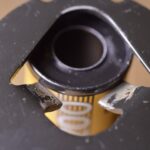
The DIY solution: a phone and a computer screen
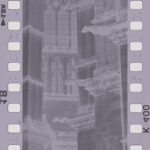
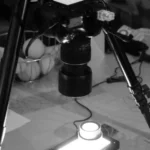
Poor results
I do not recommend this method; the image quality is simply unacceptable.
The screen pixels appear in the image.
This is a medium format negative (6×6 centimeters).
The problem will be four times more pronounced with 35mm film.
At a minimum, invest in a light table (€40-50) instead of a screen to avoid this problem.
Conclusion: a choice to be made according to the intensity of one’s practice and requirements
The digital camera: good image quality, but a tedious scanning process
This is the least expensive option. A light table costs around €40-50, and you probably already own a digital camera.
As we saw earlier, this option is also excellent in terms of scan quality. If you’re going to make large prints of your photos, this option is a the best.
Here is a complete tutorial on how to scan your negatives using a digital camera: https://electrocroissant.art/en/digitizing-your-negatives-with-a-digital-camera/.
However, scanning negatives with a digital camera takes time.
If you want to simplify the scanning process and save time, you can consider the other two solutions.
The versatility of the flatbed scanner, but lower scanning quality
The flatbed scanner offers considerable versatility, as it can be used to scan documents and other prints. However, don’t expect to print large prints from your 35mm negatives.
A used Epson V500 can be found for between €100 and €200.
Specialized scanner: speed and better image quality
A dedicated scanner (Plustek Opticfilm, Reflecta, Nikon Coolscan) offers faster scanning times and better image quality than a flatbed scanner.
However, it lacks the versatility of a flatbed scanner.
As for price, expect to pay at least €200.
Choosing the right scanner
Not all scanner models are created equal. Avoid entry-level models that offer insufficient scanning quality. Do your research before buying.


Leave a Reply