


What is a grade?
A grade is a measure of the contrast of a print. The higher it is, the more contrast the print will have.
Contrast curves for Ilford Multigrade RC Deluxe and Portfolio papers:
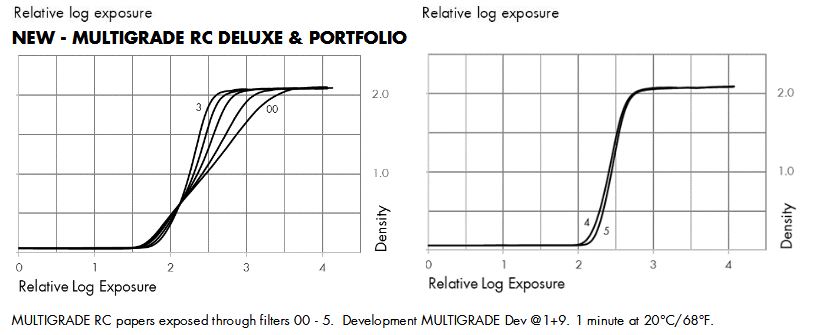
As you can see from the curves above, the higher the grade, the faster the density* increases.
*More density =more black.
In practical terms, with a grade 3 filter, the deepest black will be reached twice as fast as with a grade 0 filter [1].
The brightest areas of the print, however, are only slightly affected by a change in grade.
To simplify:
Increasing the grade means darkening a print without significantly affecting the brightest areas.
How to find the right grade?
There is a simple method to find the grade that best suits your print. I didn’t invent it, but found it here: https://www.youtube.com/watch?v=woXZb8gjG4o&t=1s
This method can be summarized as follows:
Find the blacks and whites you like best, then make them appear at the same time by choosing the right grade.
A practical example
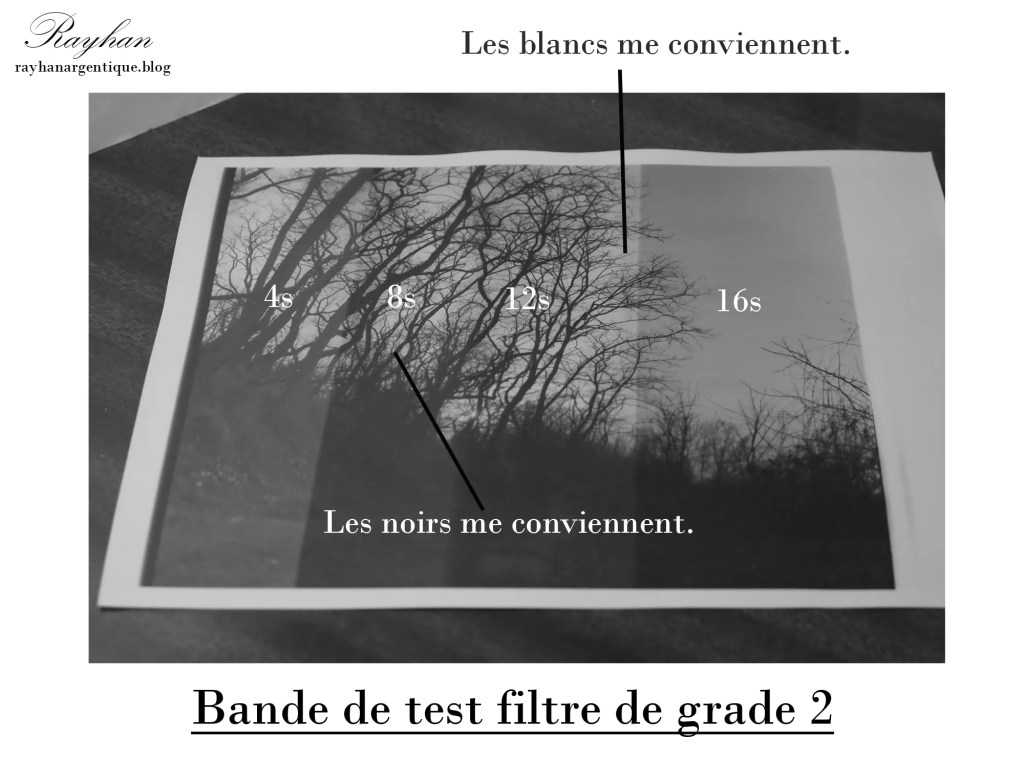
Test strip at grade 2
First, make a test strip at grade 2 (standard).
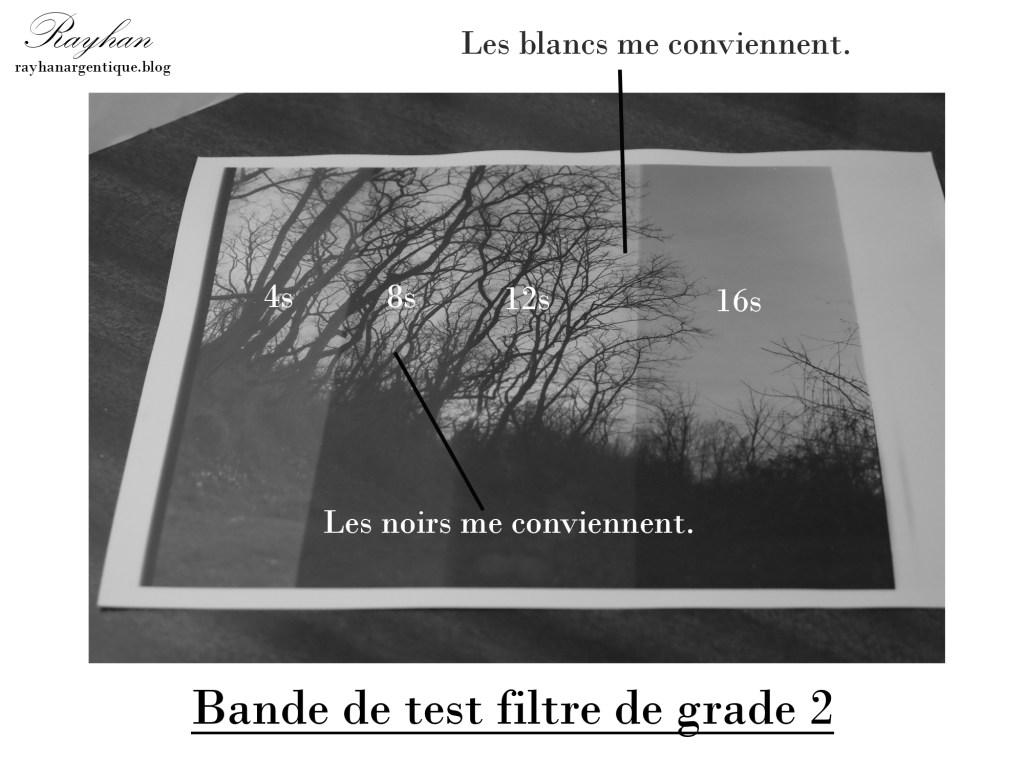
Here, the blacks appear too early. We want to delay them so they coincide with the whites we like.
To delay the blacks, we choose a lower grade. In this case, I decided to go straight to the lowest grade (0).
Test strip with a more appropriate grade
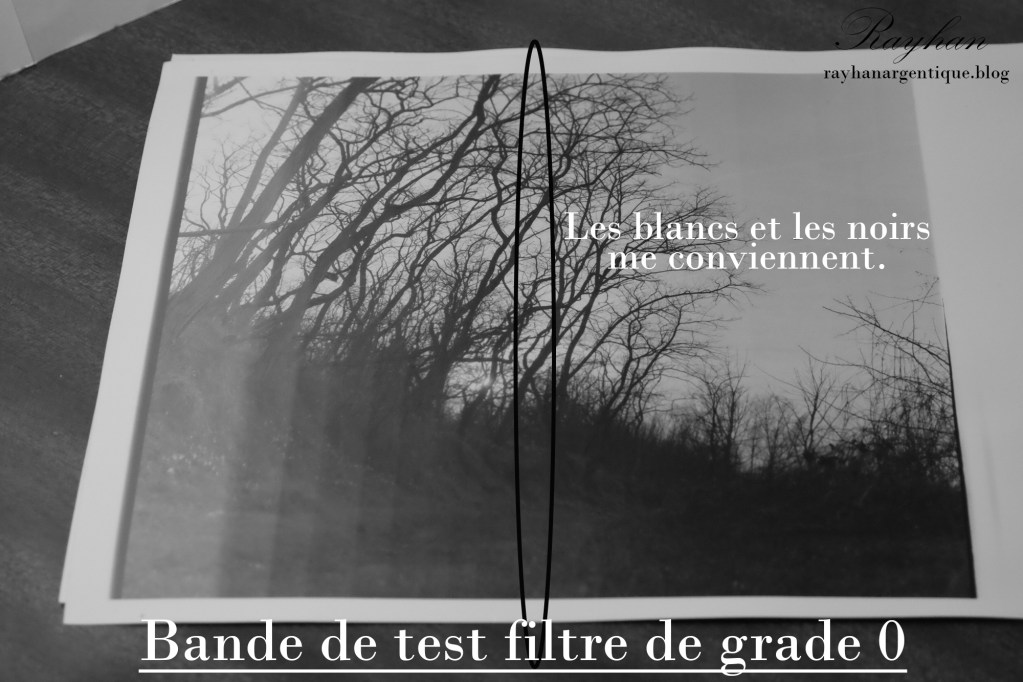
Now make another test strip. If the desired blacks and whites fall at the same point, you can stop: you’ve found the right grade and exposure time.
Otherwise, repeat the previous step.
Don’t stop there
And there you go-you’ve found the overall contrast.
That doesn’t mean there’s nothing left to do. In most cases, you’ll want to use dodging and burning to achieve the best result.
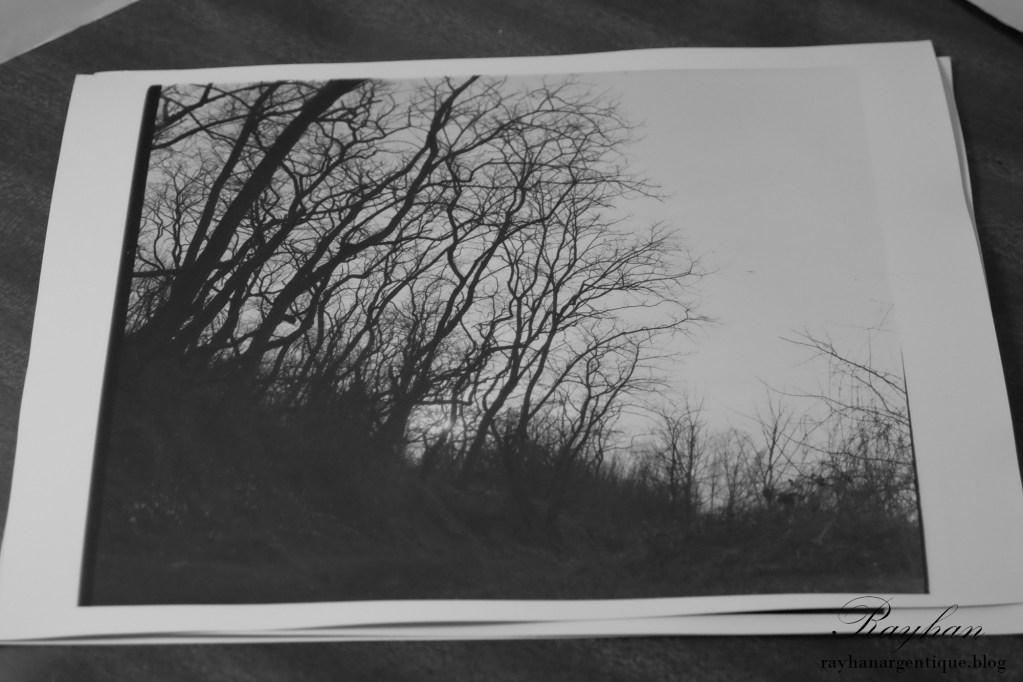
Here, dodging/burning would help bring out the snowdrops in the grass.
[1] Approximation, just to give an idea.







Leave a Reply