

Table of Contents
Much Easier with Digital Photography
Unlimited Number of Attempts
It is much easier to get started with macro photography using a digital camera: you can try as many times as needed before achieving a satisfying result.
A Much More Comfortable Viewing Experience
Likewise, the screen or electronic viewfinder of a mirror-less camera compensates for the loss of brightness caused by extending the lens away from the sensor.
By comparison, achieving accurate focus with a film SLR quickly becomes challenging…
Using Focus Stacking
This method allows you to achieve greater depth of field by combining several photographs focused at different distances.
In theory, nothing prevents you from using this technique with film photography: you can also take multiple shots with different focus points, digitize them, and then combine the images in Photoshop.
However, this quickly becomes expensive in terms of film usage.
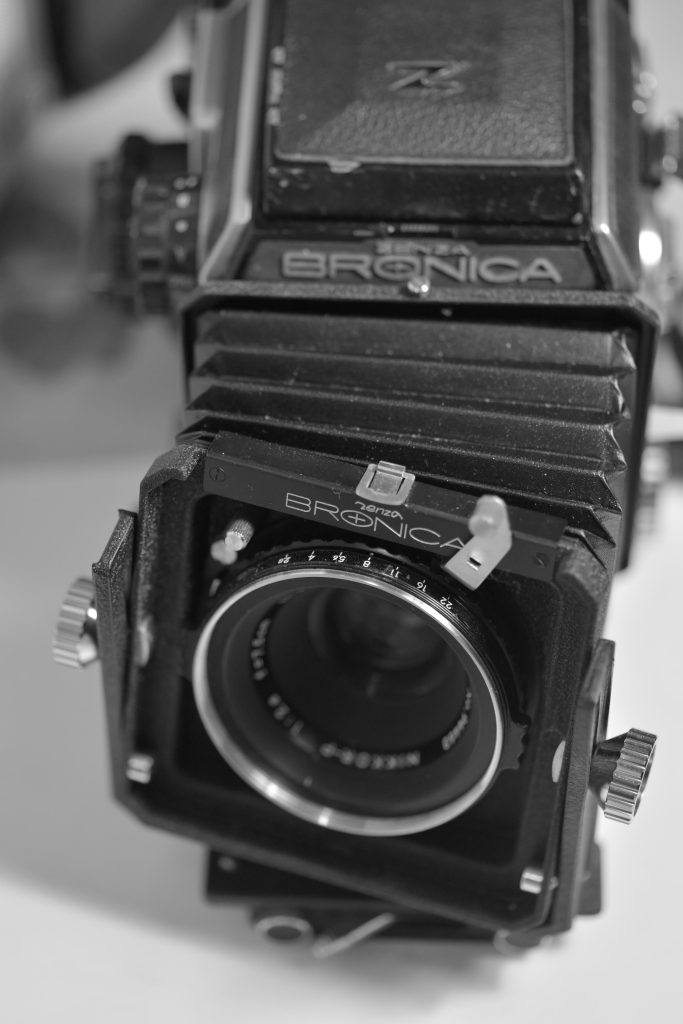
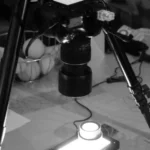
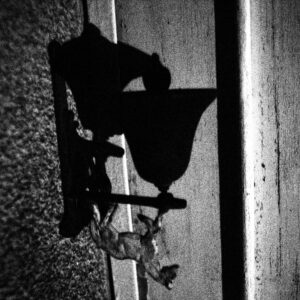
Macro Photography on Film
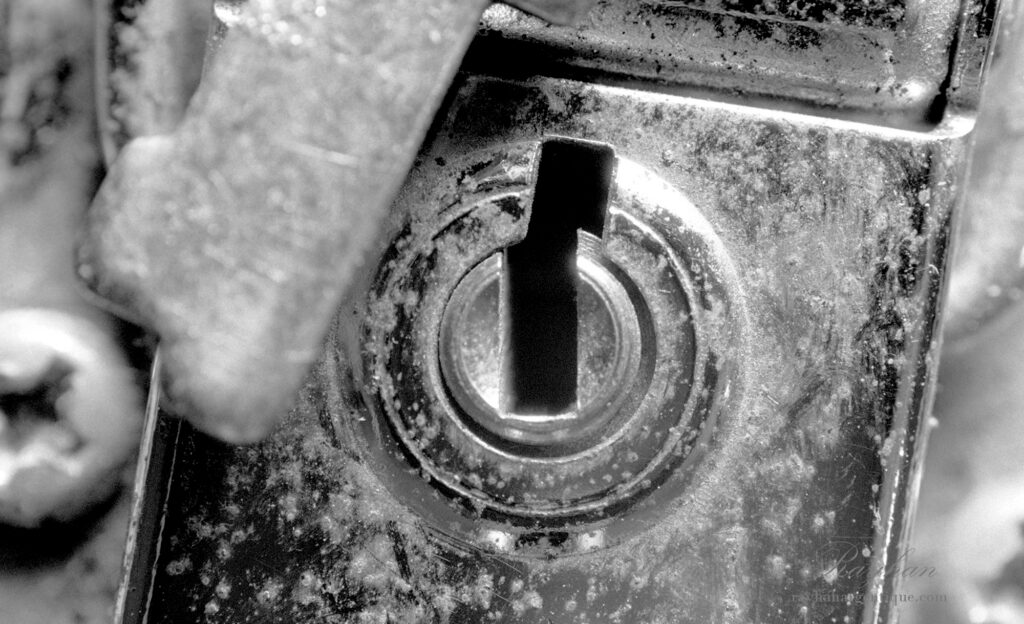
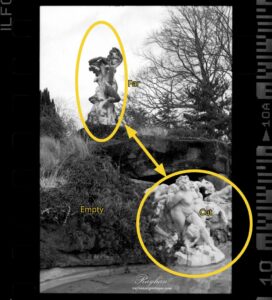
The screw on the left and the key above are only a few millimeters away from the focus point, yet they already appear blurry.
Using focus stacking would make it possible to keep the lock, key, and screw all sharp within the same image.
Getting It Right on the First Try
With film photography, excessive trial and error is not really an option: you need to be precise from the start and understand certain principles to obtain a technically correct image.
While the most modern film cameras can automatically calculate the effective aperture, this is not the case for older models.
To successfully shoot macro photographs with these older cameras, some technical knowledge is therefore required.
Taking Lens Extension into Account
As the lens is moved farther away from the sensor or film plane, the effective aperture value increases.
Calculating Correct Exposure Times
You therefore need to compensate the exposure times accordingly.
Choosing the Right Aperture to Avoid Diffraction
You must also be careful not to exceed certain values so that diffraction does not reduce the sharpness of your photograph.
(Allan WALL recommends not exceeding a real aperture of F/20 – https://www.youtube.com/shorts/bLhpMvNOJzc).
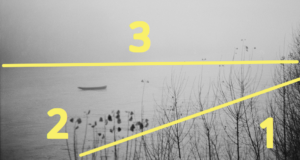
From infinity focus to a 1:1 magnification ratio, the lens maximum aperture changed from F/2.8 to F/5.6.
Modern cameras automatically compensate for this factor.
Older film SLR cameras, however, generally do not.
Calculating the Real Aperture Manually
The real aperture is calculated as follows:
You must multiply the aperture indicated on the lens by 1 + the magnification ratio.
Example: the magnification ratio is 2:1 and the aperture selected on the lens is F/5.6.
The real aperture will therefore be equal to: 5.6 × (1 + 2) = 16.8
What Is the Magnification Ratio?
The magnification ratio is equal to the size of the object on the film divided by its real-life size.
For example, if an object measuring 24×36 mm also measures 24×36 mm on the film, then the magnification ratio is 1:1.
If an object measuring 12×18 mm completely fills a 24×36 mm frame on the film, then the magnification ratio is 2:1 (the object appears twice as large on the film as it is in reality).


Leave a Reply