

Table of Contents
- Eliminating Depth of Field Issues
- Focus Stacking: Sharpness and Depth of Field
- Focus Stacking in Practice
- The Camera and Focus Stacking
- Post-Processing (Blending the Images)
Eliminating Depth of Field Issues
While background blur can be pleasing and aesthetic, it can become problematic in certain scenarios.
In macro or close-up photography, one of the recurring challenges is obtaining sufficient depth of field.
A Practical Case Study
A Photo Taken at f/8: Lacking Depth of Field
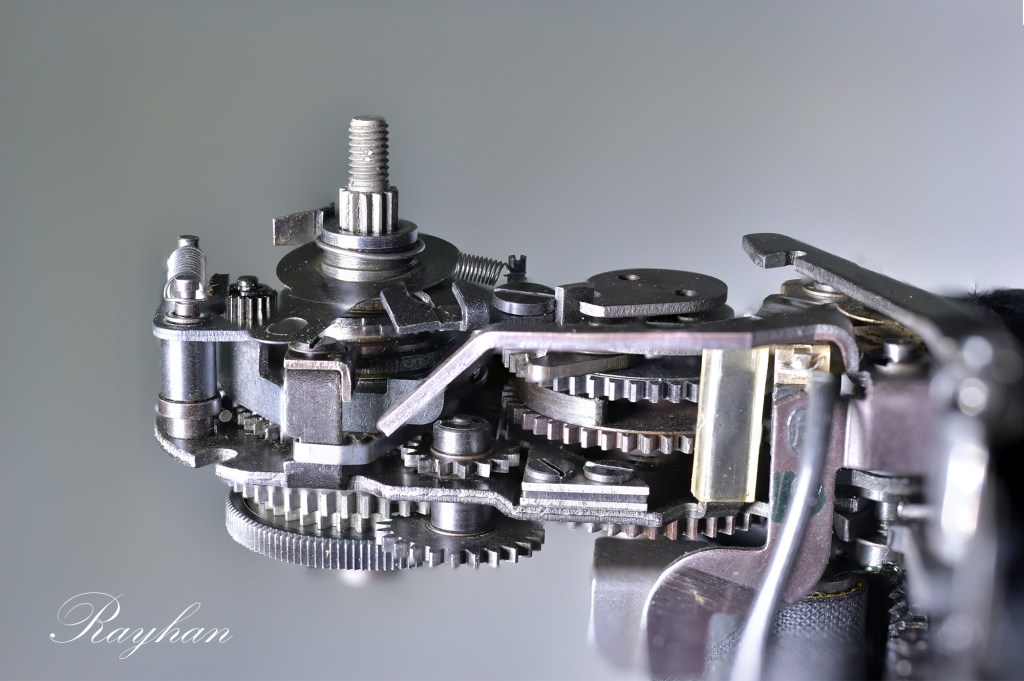
I know my lens performs best at f/8, so I set the aperture to this value and take my shot:
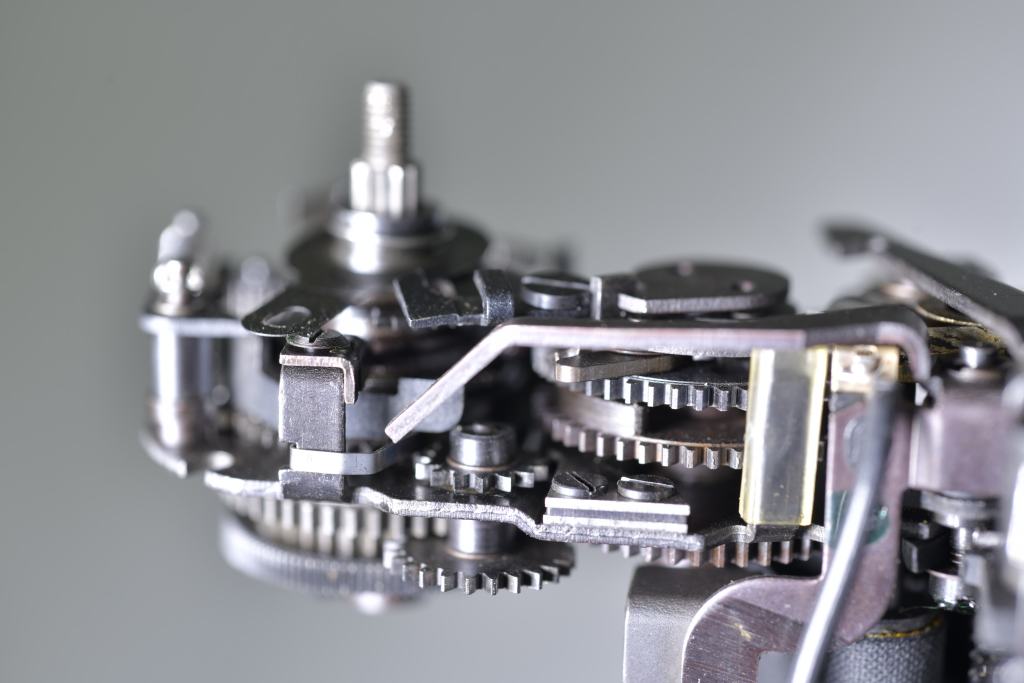
However, the depth of field is so thin that most of the image is blurry.
But I want my entire subject to be sharp.
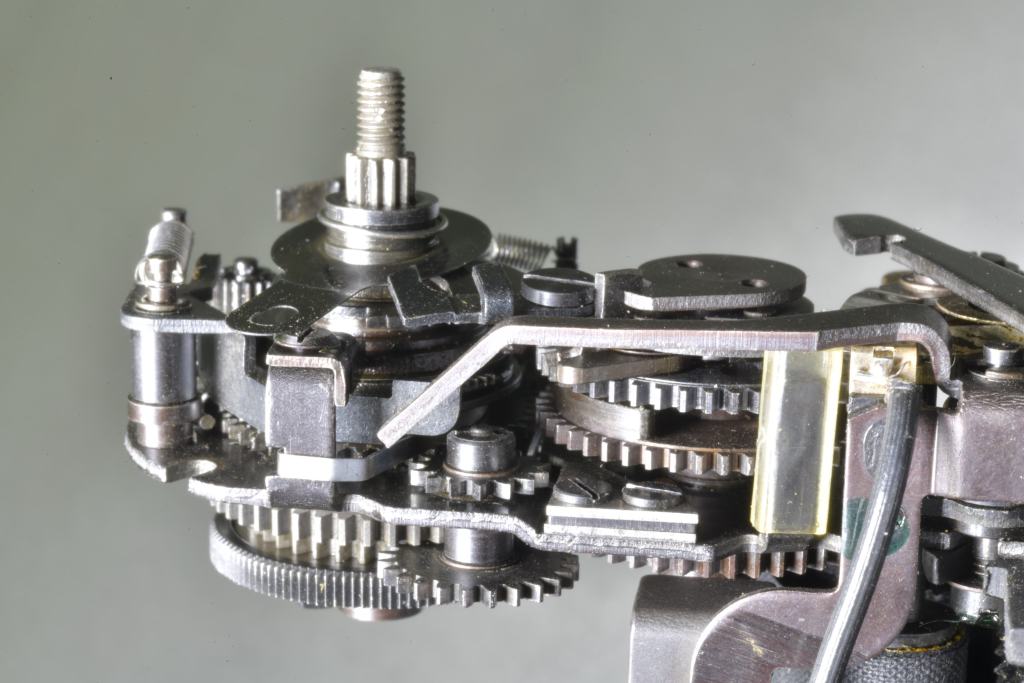
A Photo Taken at f/51: Lacking Sharpness
So, I close the aperture down to f/51 to increase the depth of field:

As you can see, it is much better regarding the depth of field.
However, we can notice that the entire image isn’t fully sharp: the spring at the back remains blurry.
Similarly, there is a significant drop in image quality due to diffraction:


The ideal solution would be to combine the sharpness of the first image with the depth of field of the second.
And that is exactly what Focus Stacking allows you to achieve.
Focus Stacking: Sharpness and Depth of Field
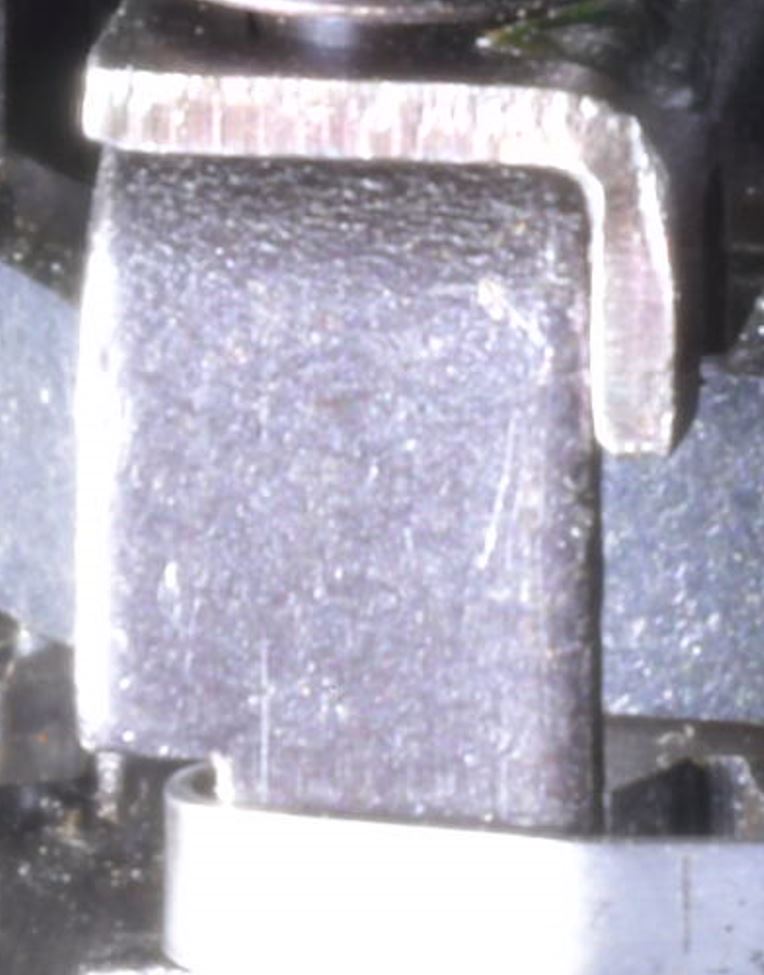
Focus stacking consists of photographing the same scene multiple times while shifting the focus slightly for each shot.
Afterward, a computer combines the different photos to create a single image containing only the sharpest sections:

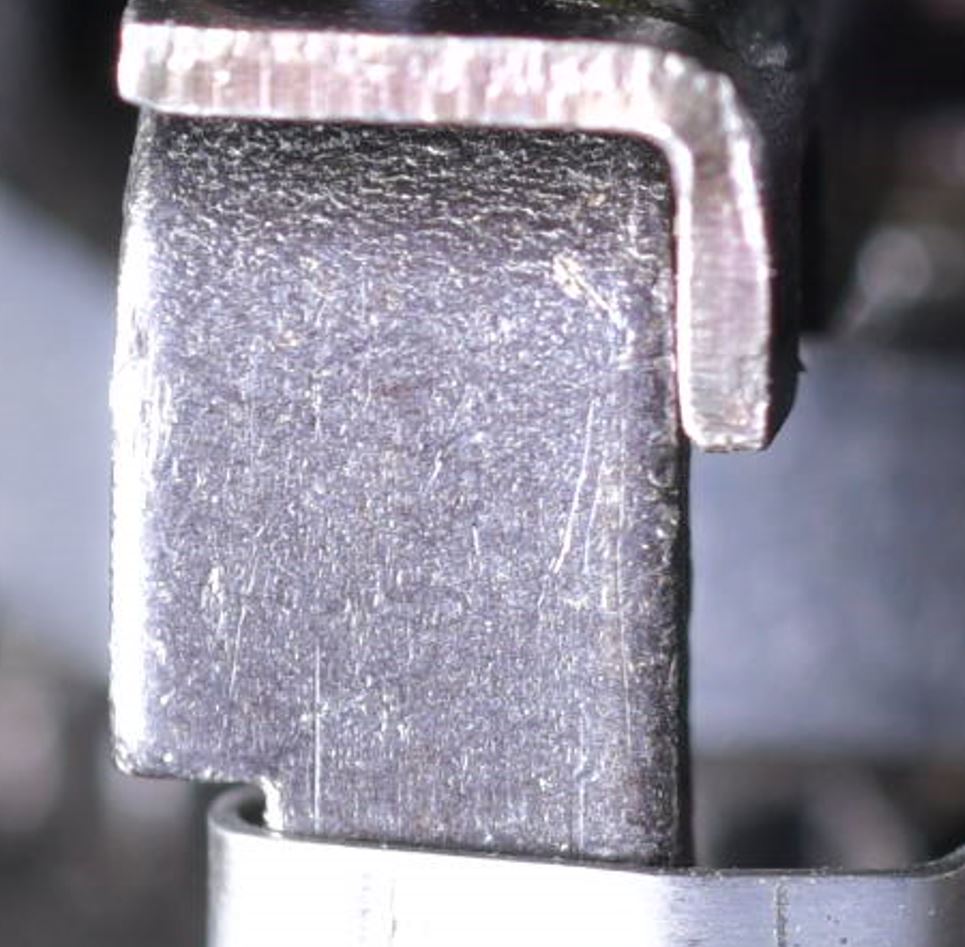
The image quality is far superior to the one taken at f/51, both in terms of sharpness and depth of field.
We end up with the sharpness provided by f/8 across all the merged photos into the final image, without any depth of field limitations.
The few imperfections present on the image are due to my computer’s performance limitations, which forced me to reduce the number of shots taken.
Focus Stacking in Practice
The process is broken down into two steps: shooting the sequence, and then processing it using editing software (such as Photoshop or Helicon).
The Camera and Focus Stacking
Cameras with Built-in Features
Some cameras can handle the shooting phase for you: the camera shifts the focus and fires the shots automatically (this only works with autofocus lenses).
It is worth noting that this feature has only been introduced relatively recently and remains somewhat uncommon.
However, if your camera lacks this feature, you can easily manage by doing it manually:
Manually
This means taking the photos and shifting the focus ring yourself.
Rather than manually pressing the shutter button 20 times, you can use an intervalometer (a feature found on most moderately sophisticated cameras) to make the task easier.
Using an Intervalometer
For example, you can program the camera to take 20 shots at 5-second intervals. During those 5 seconds of inactivity between shots, you can slightly shift the focus.
Step One: Shooting
The More Photos You Take, the Better the Final Quality
It is important to know that the more photos you take, the sharper the final image will be.
Too Many Photos = Lengthy Processing Time
However, a high number of photos can significantly increase the processing time when it comes to blending the images.
The Closer You Are, the More Photos You Need
The closer you are to your subject, the more the depth of field shrinks.
Therefore, you must increase the number of shots accordingly.
It is up to you to decide how far you want to push it.
Watch Out for Environmental Variations During the Shoot
Avoid Changes in Lighting
I recommend using artificial lighting to avoid variations in brightness that could degrade the final image.
Getting the Framing Right
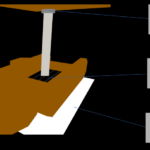
Changing the focus alters the framing.
The closer you focus, the more the lens extends forward. This means that the framing tightens up as you focus on closer elements (focus breathing).
Start by Focusing on the Element Closest to the Lens
Because of this, you need to leave yourself some headroom. I recommend framing your shot while focusing on the closest part of the subject that you want to be sharp.
Post-Processing (Blending the Images)
In Photoshop:
Loading the Image Sequence
File => Scripts => Load Files into Stack
Then, select your series of images.
Aligning All the Photos
Slight shifts can happen during the shoot, as altering the focus causes framing changes on most lenses. Therefore, you need to align all the images.
Edit => Auto-Align Layers
Select “Auto” and click OK.
Blending the Images
Next, we will blend the images together, keeping only the sharp zones.
Edit => Auto-Blend Layers => Stack Images.
I advise leaving “Seamless Tones and Colors” checked to normalize any slight color differences between images (white balance shifts, ambient light changes, etc.).
And there you go, you have your final image. Now it’s up to you to export it and apply any deep post-processing tweaks later on.


Leave a Reply