

Table of Contents
- Don’t Be Overly Fussy
- You Can Do More Harm Than Good to the Lens
- My Method for Evaluating a Lens’s Condition
- List of Defects That Can Affect Your Optics
- Cases Where You Need to Act Fast
- Mechanical Issues
- Preventive Tips
- Disassembling a Lens
Don’t Be Overly Fussy
You can still take great photos with a lens that has a few minor flaws.
A little dust, an imperfectly circular aperture, two or three scratches, or even a fungus infection that has been stopped at the edge of the elements won’t have a major impact on the quality of your images.
You Can Do More Harm Than Good to the Lens
For instance, dust inside the lens elements will have very little impact on the lens’s performance.
Therefore, you need to carefully judge whether it’s truly worth intervening, especially if you are inexperienced.
To be clear, I am not a professional repair technician.
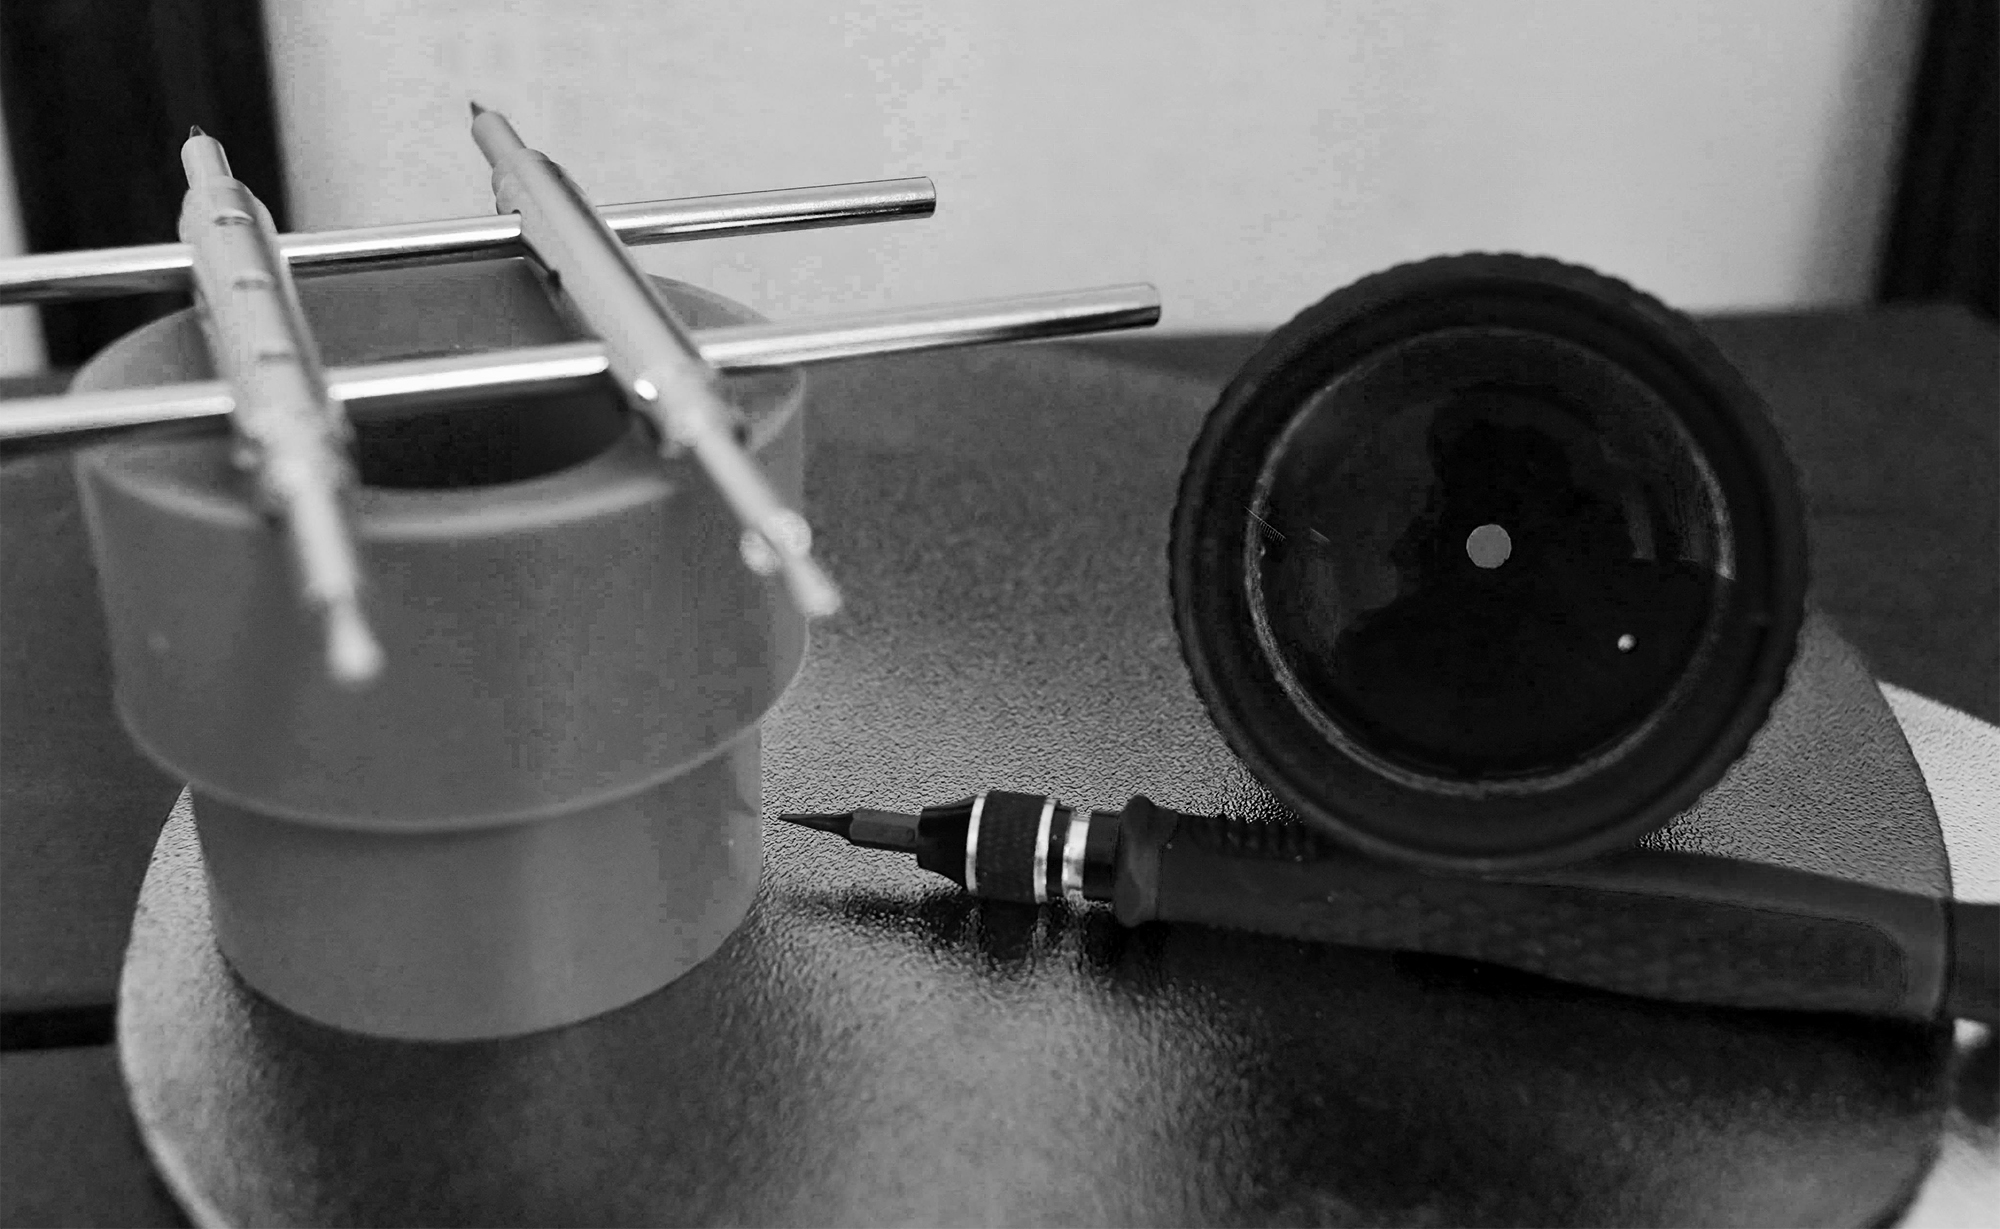
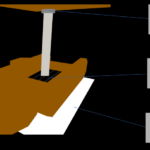
My Method for Evaluating a Lens’s Condition
I look directly through the lens. If I like what I see, that’s a good sign (obviously, you need to hold the lens far enough from your eye so that the view is in focus).
List of Defects That Can Affect Your Optics
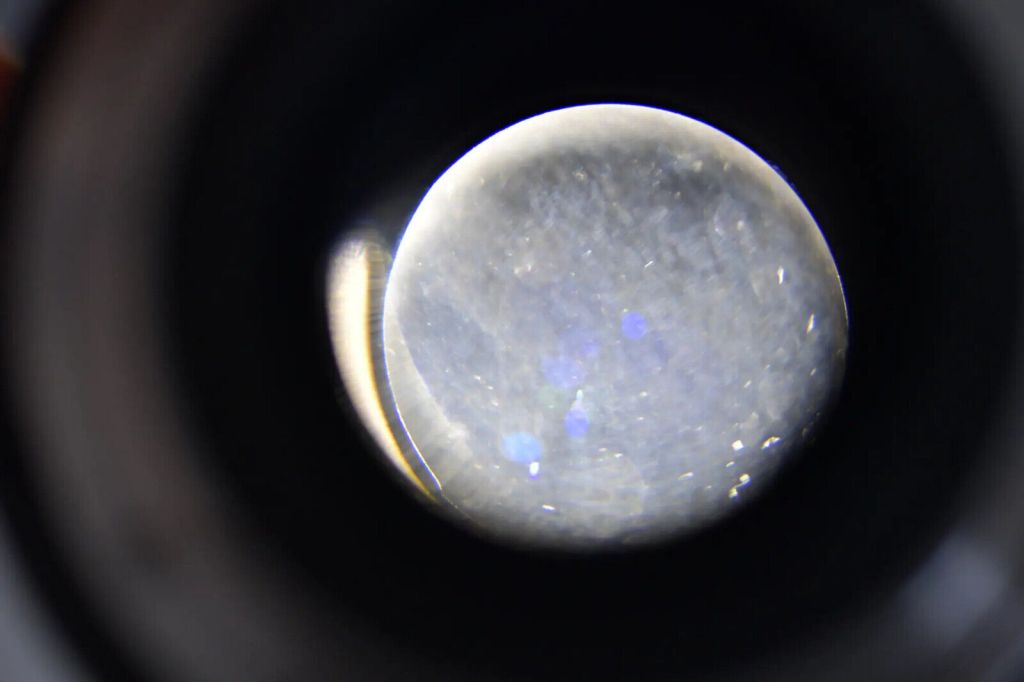
You should use incident light to make the defects stand out.
Cases Where You Need to Act Fast
Both grease and fungus can severely and permanently ruin your lens.
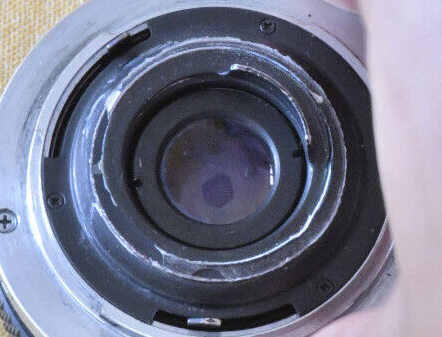
Grease
If you see grease on the aperture blades, you must clean it without delay: in addition to preventing the aperture from working correctly, the grease could leak onto the lens elements and damage them permanently.
Indeed, if it dries on the glass, the grease will not come off and will affect the quality of your images. You would have to polish and therefore alter the element to get it clean again.
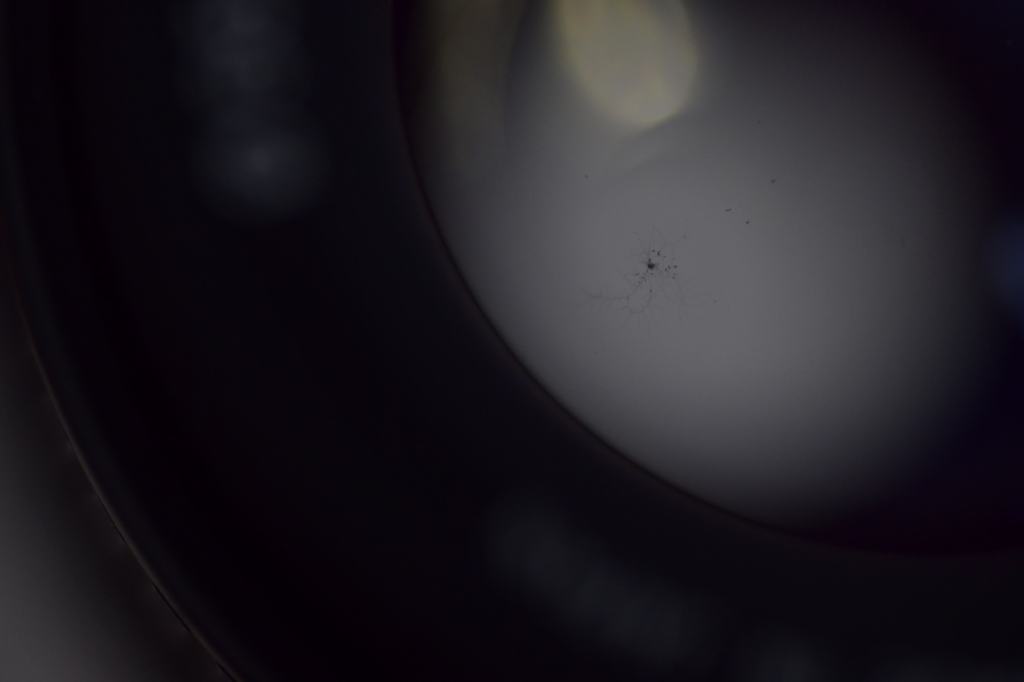
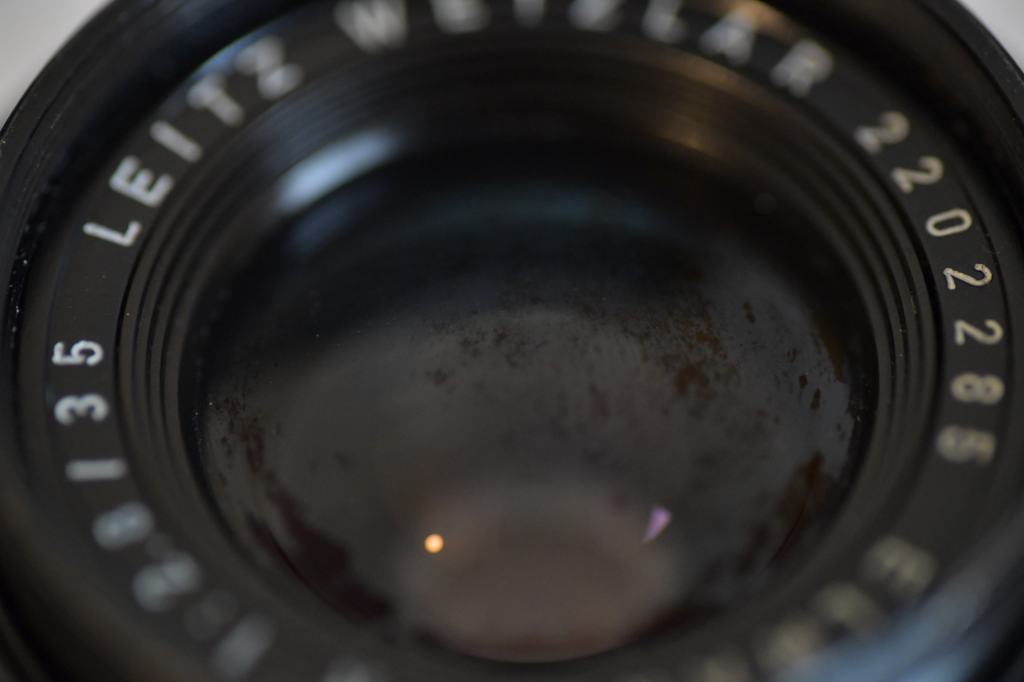
Fungus
Fungus also requires quick intervention: it spreads over time and can eat away at the anti-reflective coatings essential for lens performance.
You can settle for stopping the growth of the fungus with a blacklight (UV) lamp if the infection isn’t too severe.
Otherwise, you can use hydrogen peroxide to clean the lens elements.
Other issues:
Dust
This is the most common flaw. Unless it is present in massive amounts, there is no need to panic.
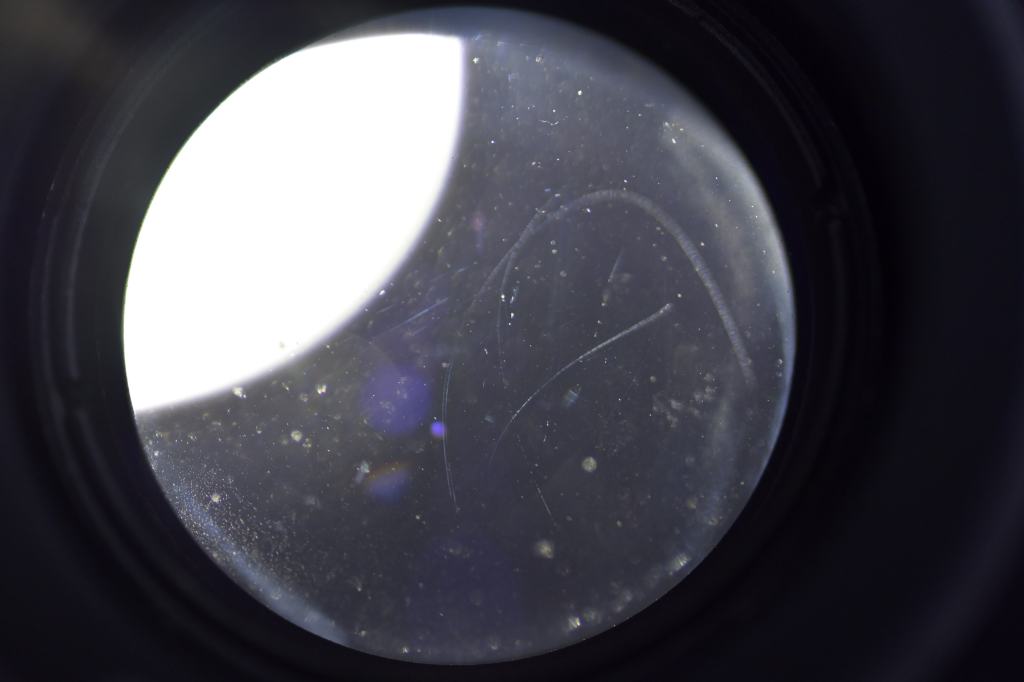
Scratches
They aren’t always visible at first glance. Using incident light can help you spot them.
A single long, clean scratch will do less harm than a multitude of micro-scratches covering the lens element.
You can try to lessen the damage by polishing the lens (a long and complicated process).
Scratches mainly affect contrast.
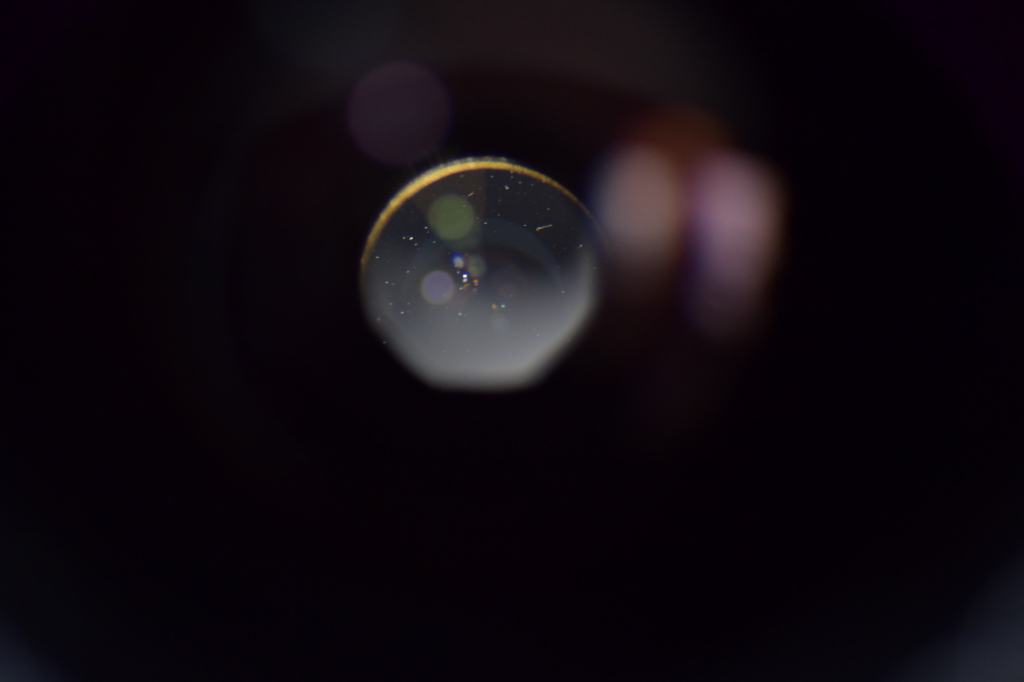
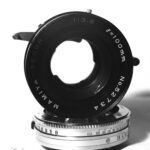
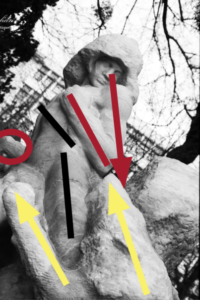
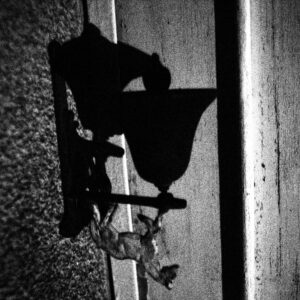
Delamination (Element Separation)
Depending on the optical design, some lens elements may be glued together.
Under the effect of heat, they can separate. This can be identified by iridescent reflections or more clearly as shown in the picture below.
It can quite heavily degrade image quality. You can completely separate and then re-glue the elements, but this remains a major operation (https://www.suaudeau.eu/memo/rep/recollage_lentilles.html).
Never leave a lens in your car on a sunny day (for example) to avoid separation.
Coating Degradation
The disappearance of the anti-reflective coating. No repair is possible. It is up to you to judge the impact it has on your images.
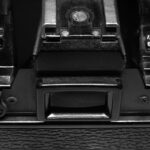
Mechanical Issues
An asymmetrical aperture isn’t necessarily critical and will only affect bokeh balls when not shot wide open.
A misaligned focus can be repaired.
A stiff focus ring, unless caused by structural deformation, can be fixed with fresh grease.
An aperture mechanism that doesn’t close completely or is jammed is, in my experience, more complicated to repair.
Preventive Tips
Avoid leaving your lens in a hot place (like a car in the sun) to prevent the focusing grease from hardening or causing element separation.
Fungus spreads in dark and humid environments. Keep your lenses dry.
Likewise, do not mix healthy lenses with ones infected by fungus: the latter could contaminate the former.
Make sure to protect your lens well if you take it out in the rain.
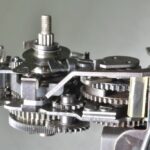
Disassembling a Lens
First of all, you can do some research to see if someone else has attempted this procedure before you.
Be careful, however, to verify that it is exactly the same model.
The operation can be lengthy if the issue lies in the middle of the optical group, but it remains doable if you are meticulous, precise, and take notes conscientiously for reassembly.
Being equipped with the right tools is obviously a major plus. Otherwise, most of the time it involves unscrewing rings with a lens spanner wrench to take out the elements and clean them.
Avoid touching the focusing mechanism if possible.
For the tools and products to use, I invite you to check out videos from people more capable than myself (for example https://www.youtube.com/watch?v=MW1DLZDcF2E).


Leave a Reply