


Table of contents
I. A definition of macrophotography
II. Importance of the equipment
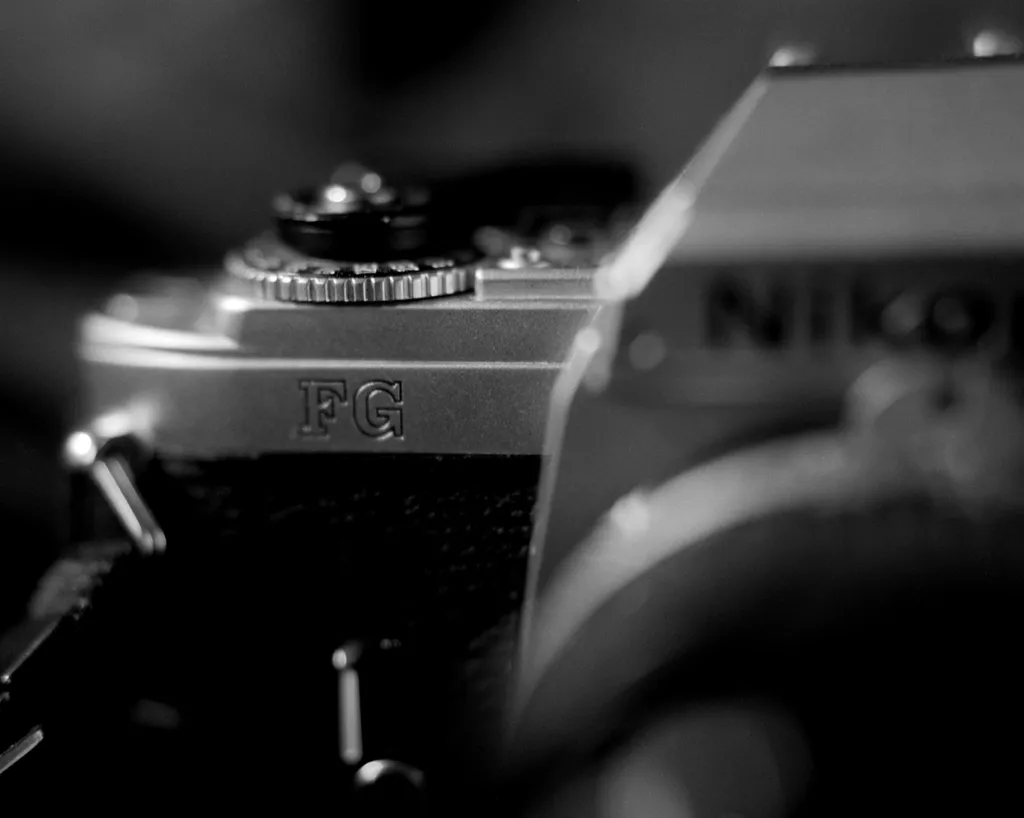
1. The camera
2. The lens
3. Accessories
3.1 Getting closer to the subject
a. Reverse ring
b. Extension tube
c. Bellow
d. Close-up lens
3.2 Lighting the subject
3.3. Keeping the camera stable
3.4. Positioning the subject
III. Summary
I. A definition of macrophotography
Macrophotography involves photographing small objects or a small part of an object.
The strict definition of macrophotography is a magnification ratio* between 1:1 and 1:10. This means that the area you photograph will be between the size of your camera’s sensor and one-tenth its size.
The magnification ratio is equal to : the size of the photographed object divided by the size of the camera sensor.
For example, a 10:1 for a 24x36mm ratio means that the size of the photographed object is equal to 2.4×3.6mm.
| Type of Photography* | Magnification ratio* |
| “Normal” photography | More than 1:12 ( an object 12 time the sensor size) |
| Proxiphotography | 1:12 to 1:1 |
| Macrophotography | Superior to 1:1 to 10:1 |
| Microphotography | More than 10:1 |
*These values seems to vary depending on the source
II. Importance of the equipment
Most lenses have a limited minimum focusing distance. Therefore, it won’t be possible, for example, to “macrophotograph” a coin in close-up with them.
In order to photograph an object at a very close range, it is necessary to use the right equipment.
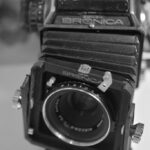
1. The camera
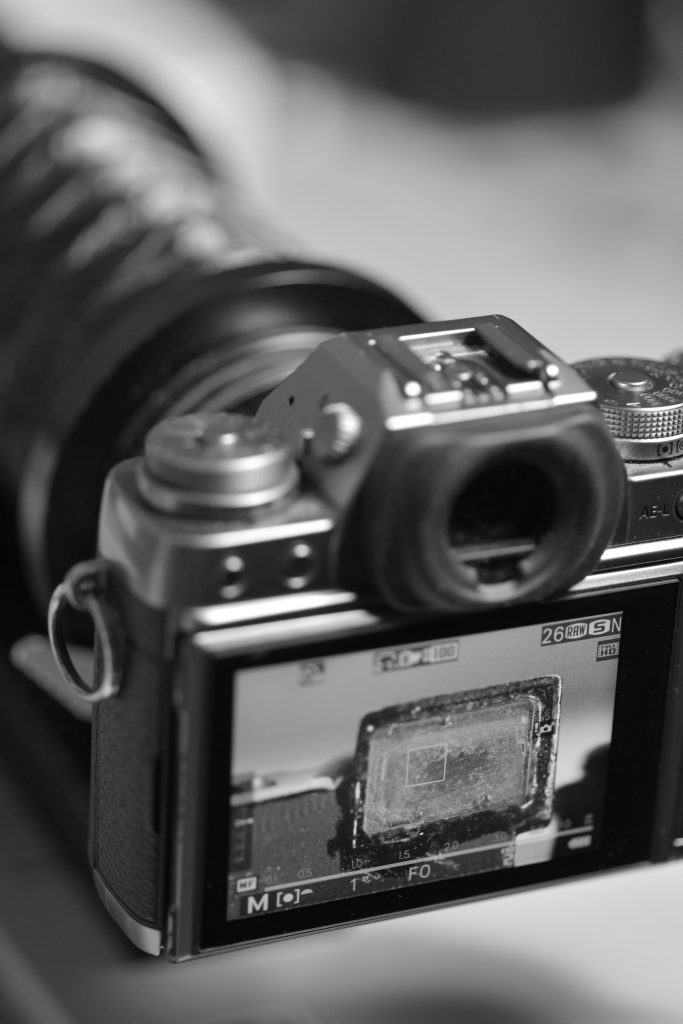
Macro photography can be done with any camera.
However, the most enjoyable option remains using a digital camera.
The live view of a digital camera can generally be repositionned for more comfort and you’ll have a brighter and more pleasant view than an optical viewfinder.
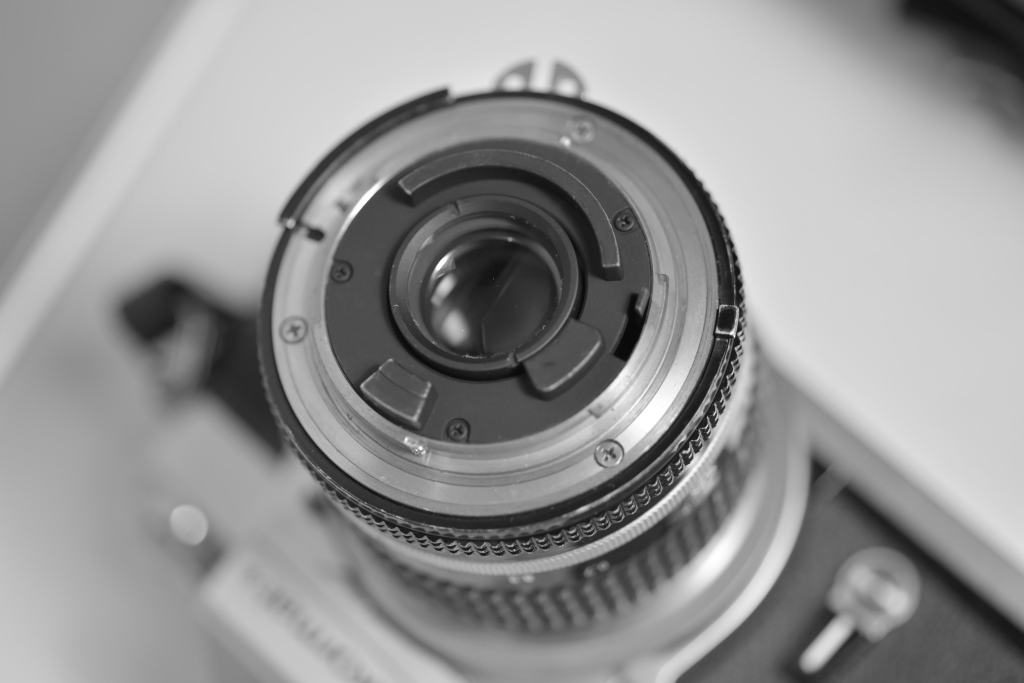
2. The lens
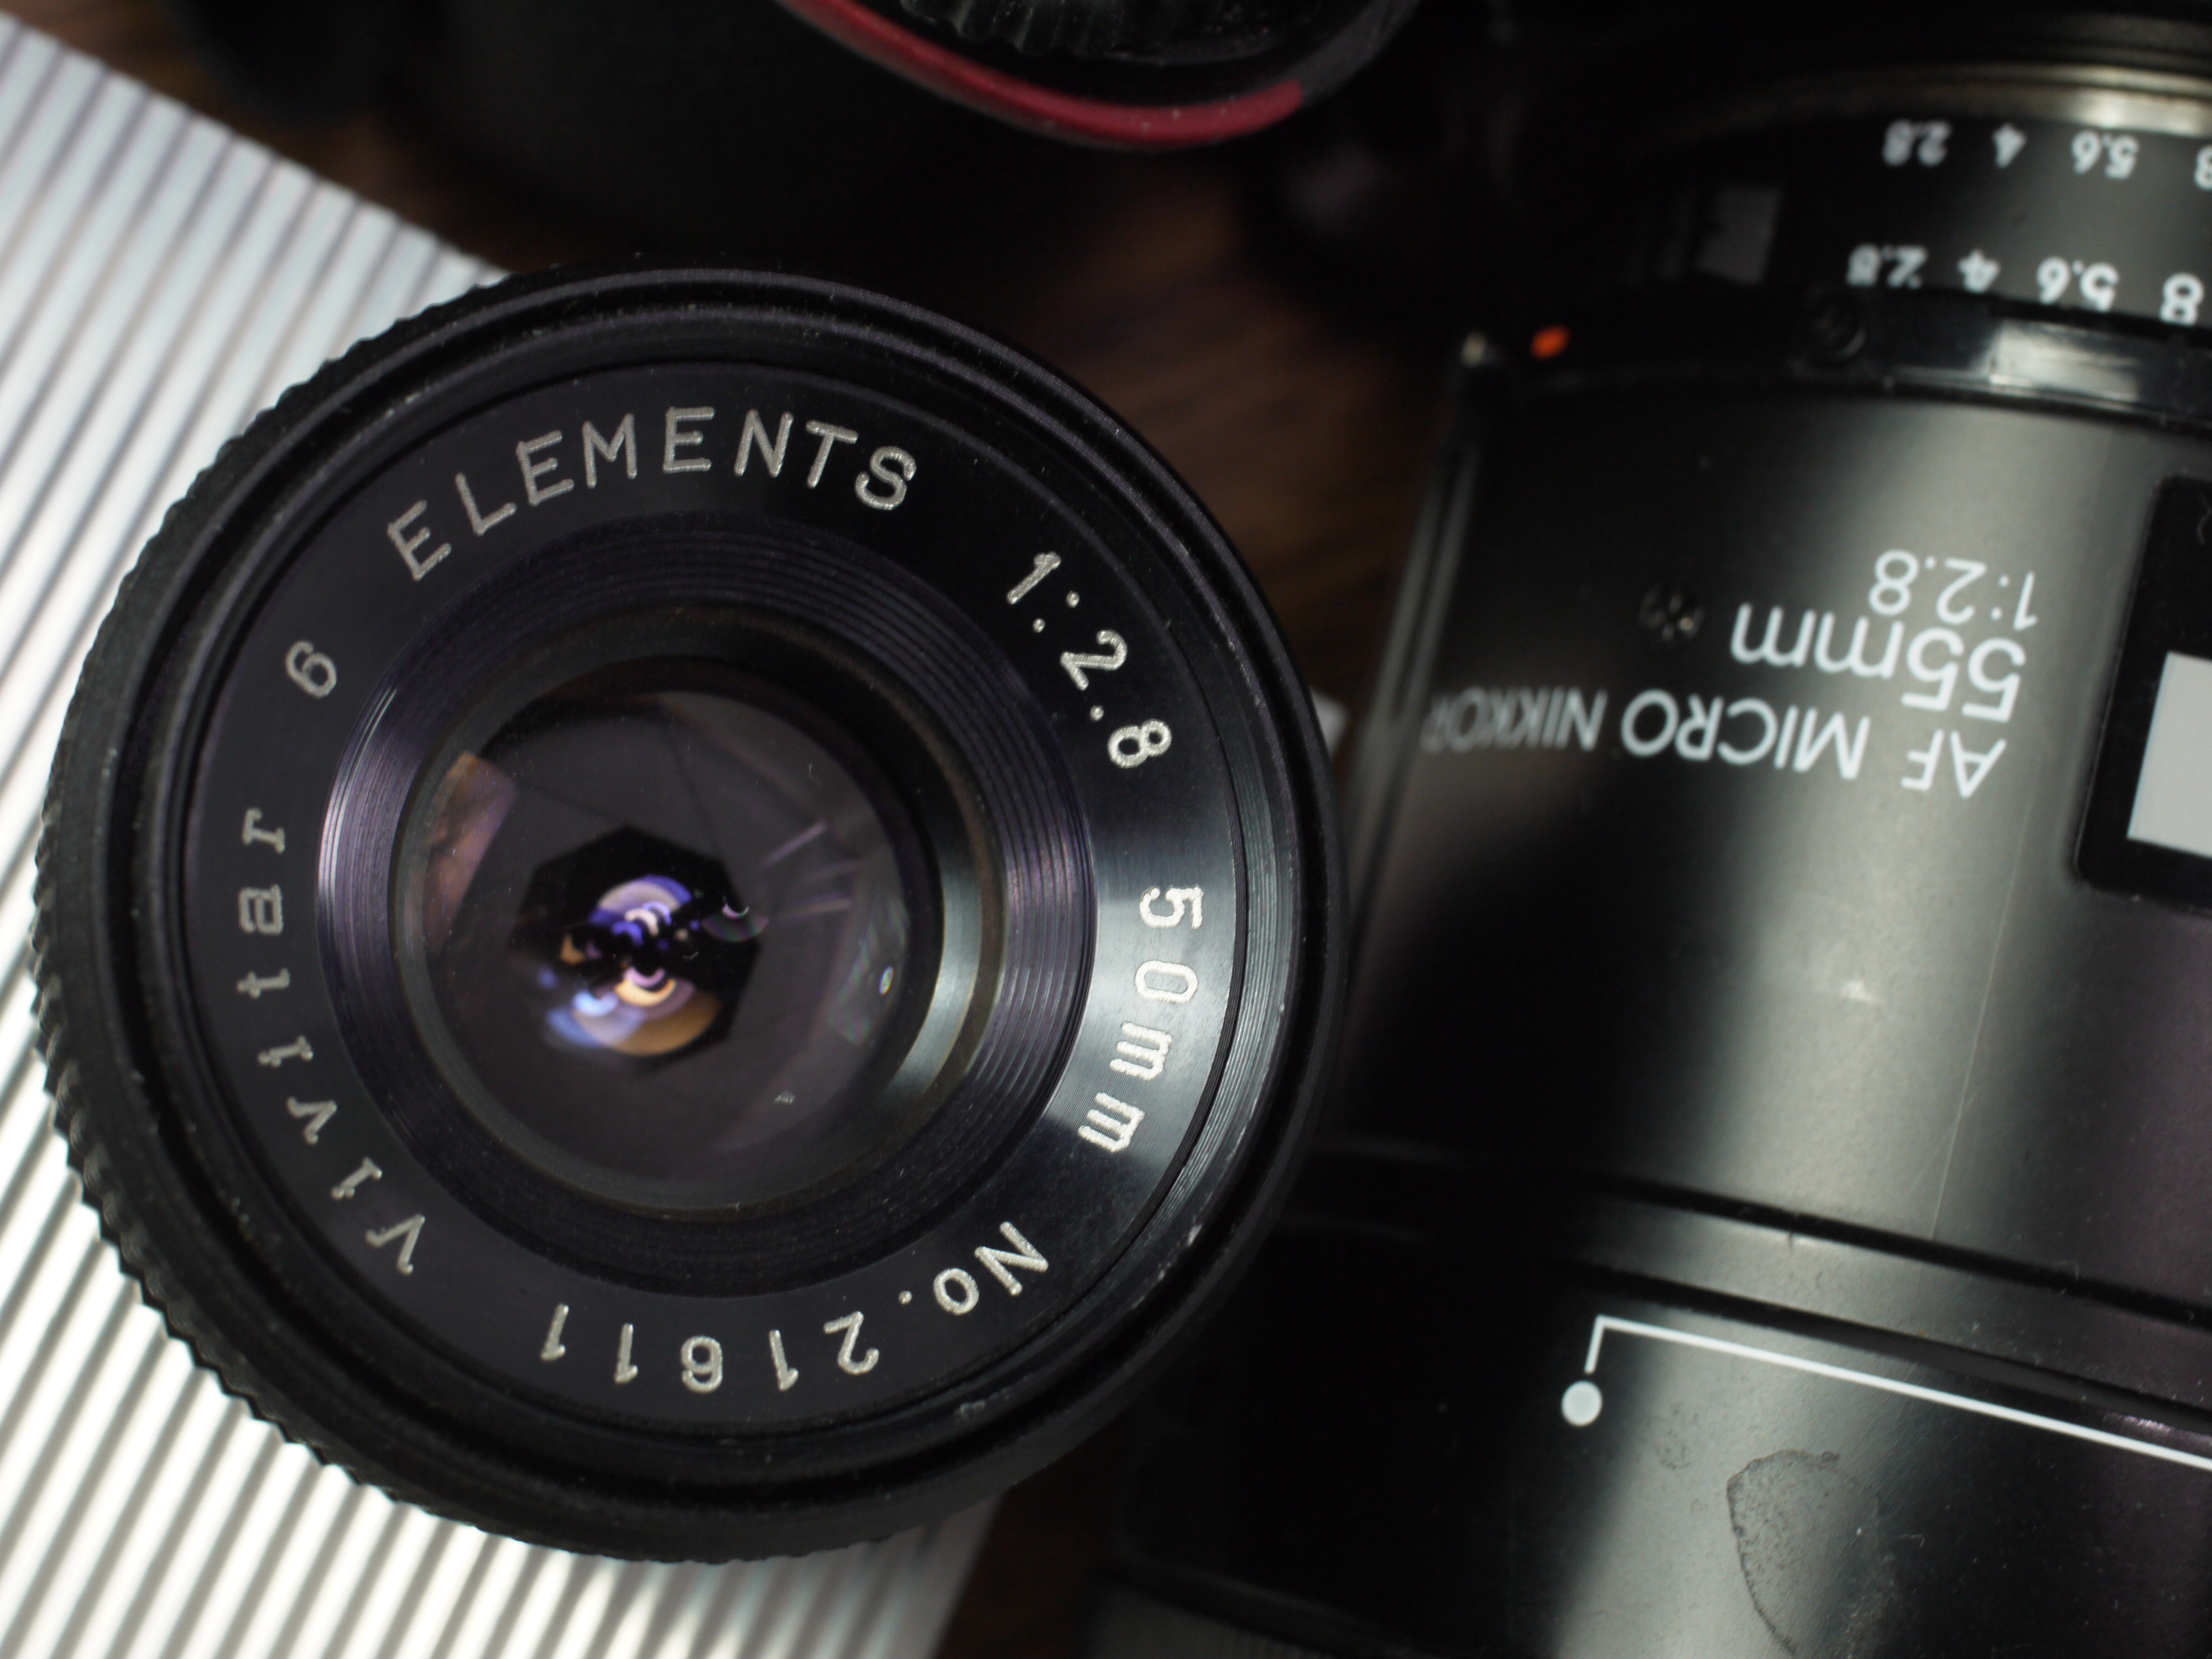
Every lens can work if used rightly
Any lens can work. Whether it’s the lens you usually use for landscape or portrait photography, or even an enlarger lens.
Of course, some will perform a lot better than others, but most will give acceptable results.
A specialized macro lens
The most natural choice is to choose a specialized macro lens. A lens build for macrophotography allows you to maintain automatic settings.

Even if the lens is labelled “macro”, a bellow or extension ring is still necessary for larger enlargements.
Be careful with the use of the “macro” label by the brands
A lens’s macro capability is usually indicated in its name. However, be wary, as some manufacturers have misused the term.
Generally, zoom lenses labeled “macro” are not designed for macro photography. Opt for prime lenses.
Importance of the focal length
The longer the focal length of the lens, the less you’ll need to get close to your subject. This is useful for very high magnifications.
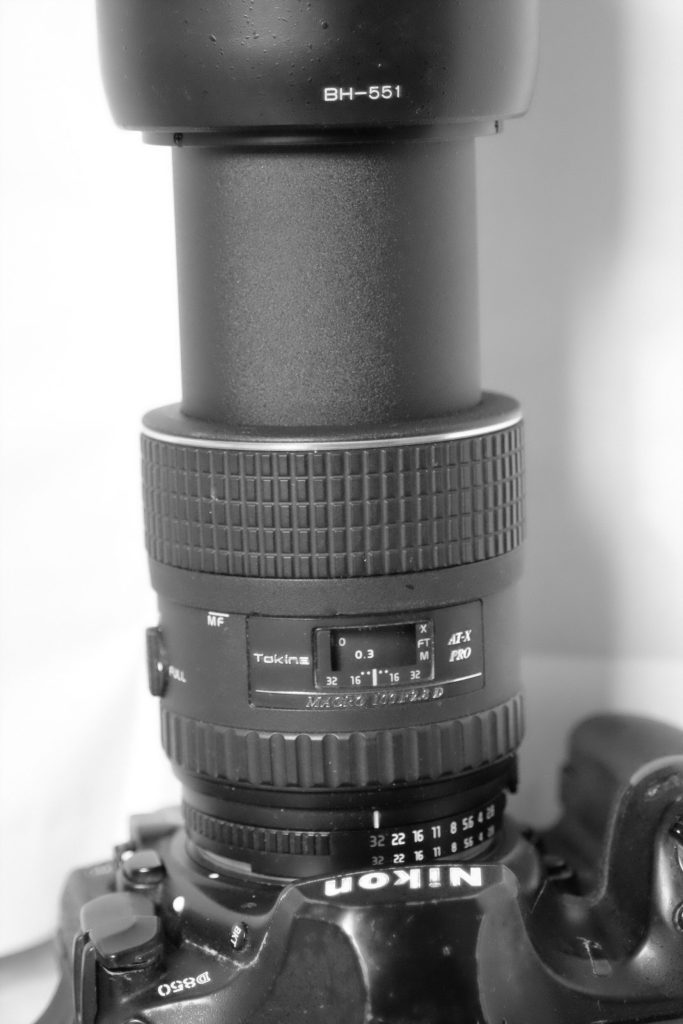
If the focal length is to short, you will have to put the lens very close to the subject.
Which may cause difficulty to set the lighting.
A 100mm lens,, like this tokina macro lens, is generally a good compromise. 50mm may be too close for higher magnifications.
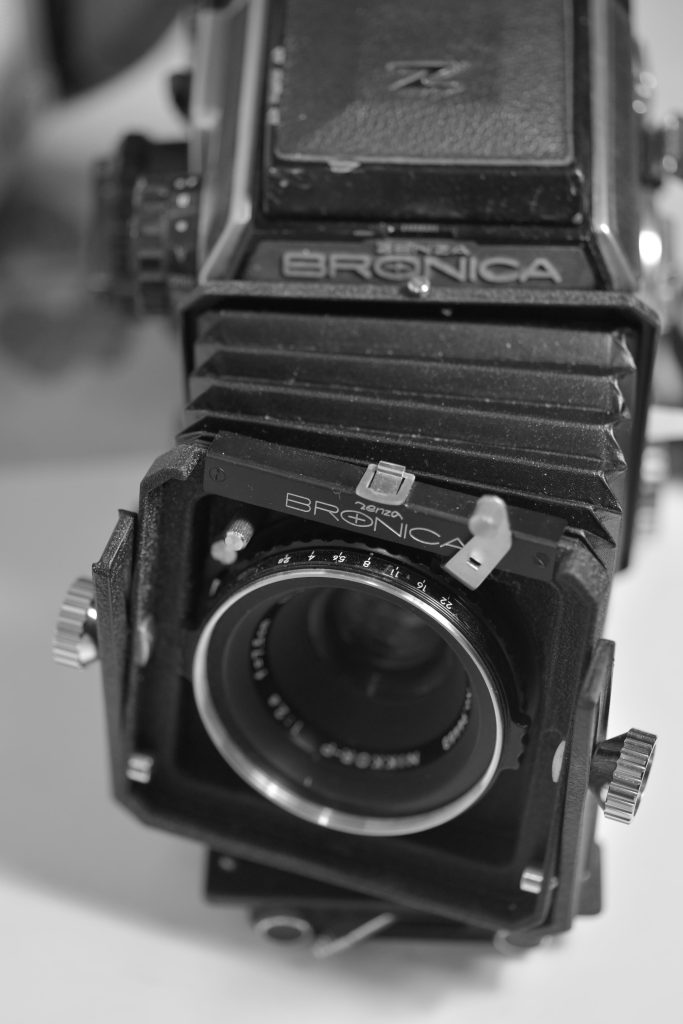
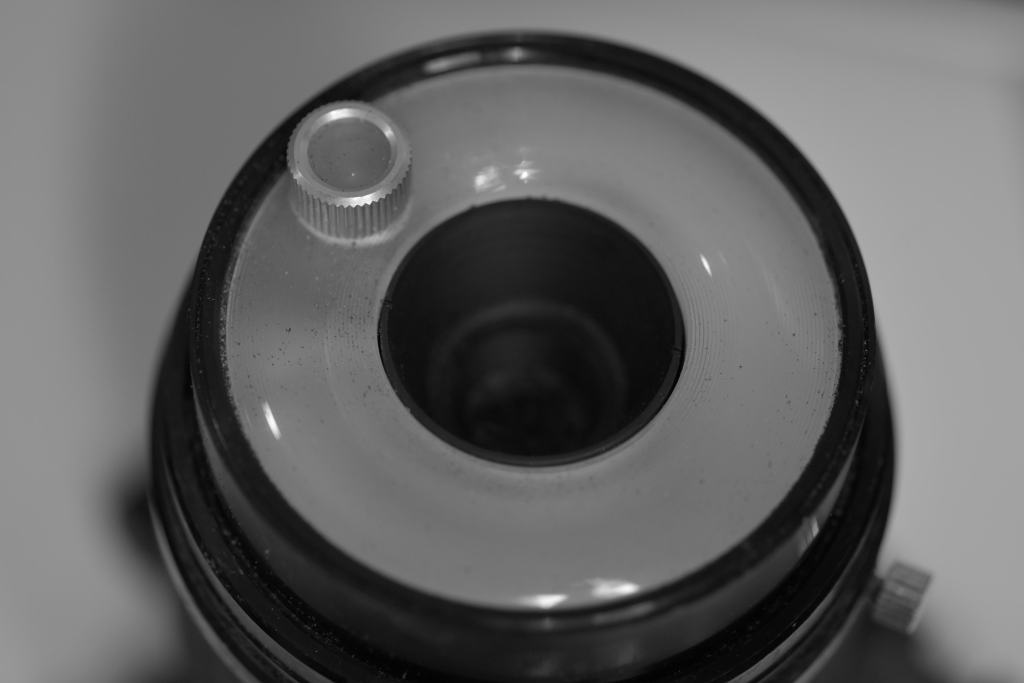
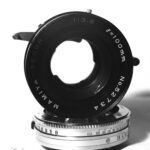
Enlarger lens
Using enlarger lenses with a bellow is also a good option. They are cheaper -€50 and €100- and offer similar image quality than specialized macro lens.
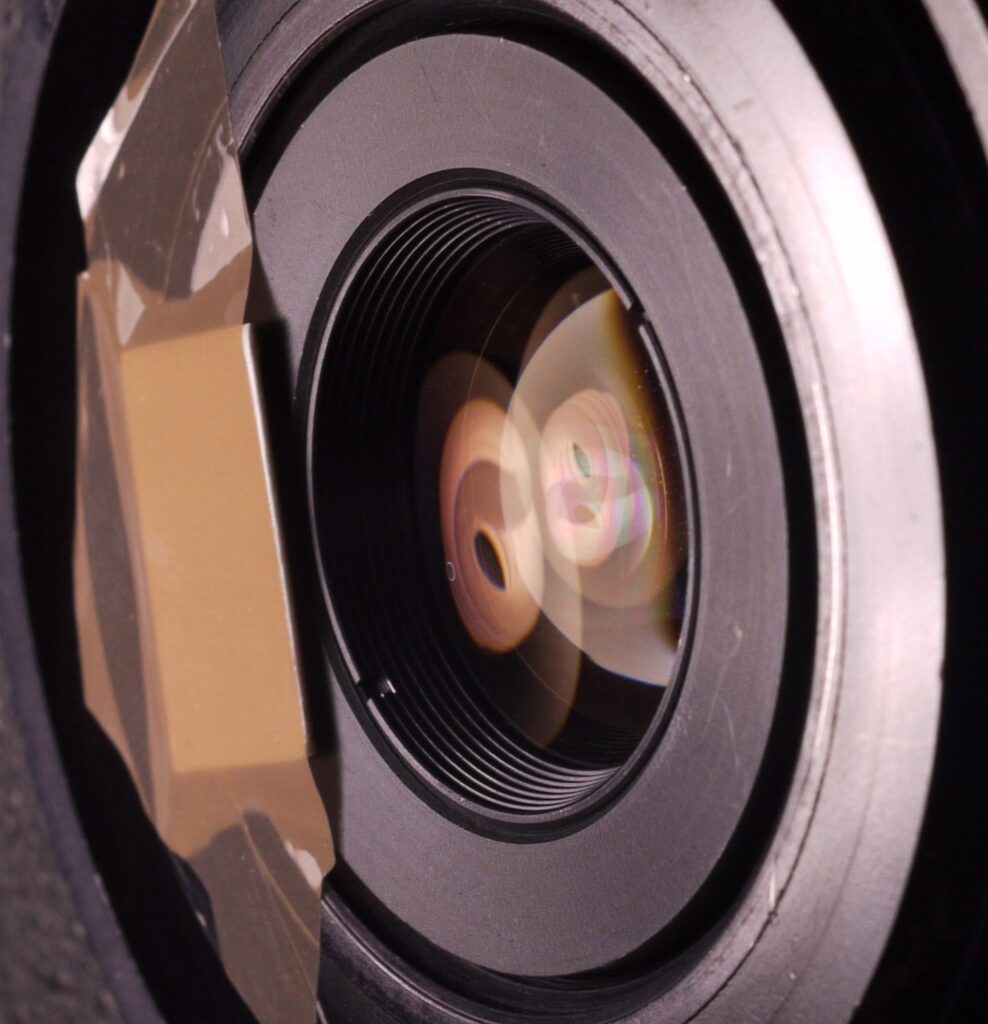
Put you enlarger in reverse to get the most of it for macrophotography.
On this photo : an enlarger mounted in reverse on a bellow.
A “normal” lens reversed
You can also use a reverse ring to allow your normal lens to take decent macro photos.
3. Accessories
3.1. Getting closer to the subject
Several tools exist to get closer to the subject. They vary in price, size and image quality.
a. Reverse ring
A reverse ring allows to use the lens in a different orientation: the rear element is now at the front. This configuration makes the sens suited for macro photography.
This is the least expensive option and takes up very little space. Note, however, that you will need to operate it in manual mode.
To choose a reversing ring, you will need to know your camera’s mount and the diameter of the filter holder at the front of your lens.
A reversing ring generally costs around ten euros.
b. Extension tube

Some extension tubes allow you to retain the usual automatic functions, while others do not.
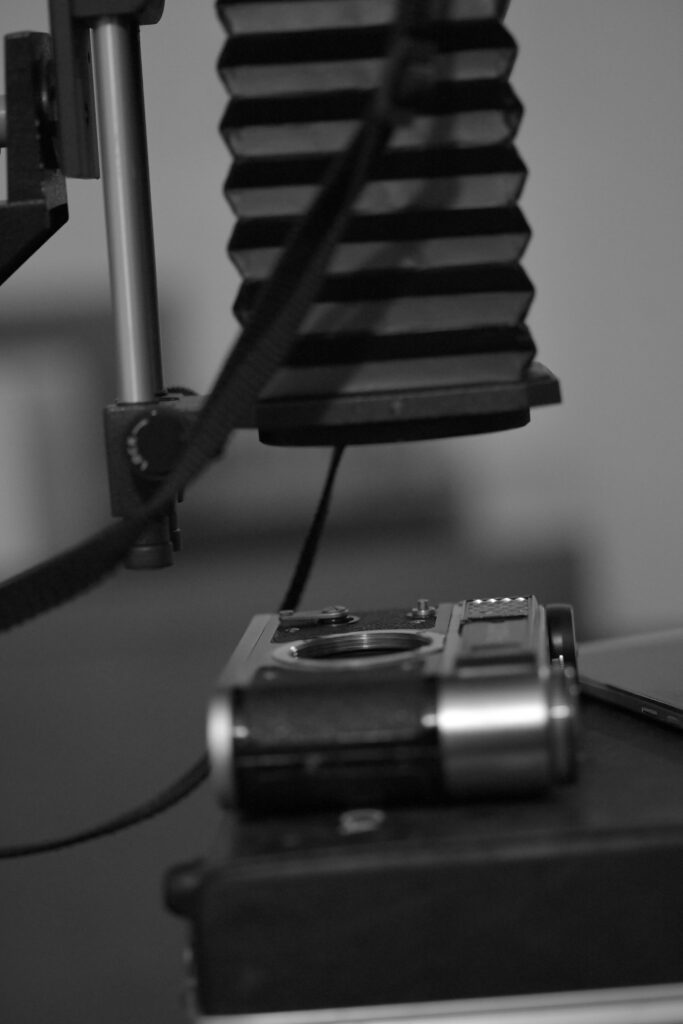
c. Bellows

The bellows offer greater precision than extension tubes.
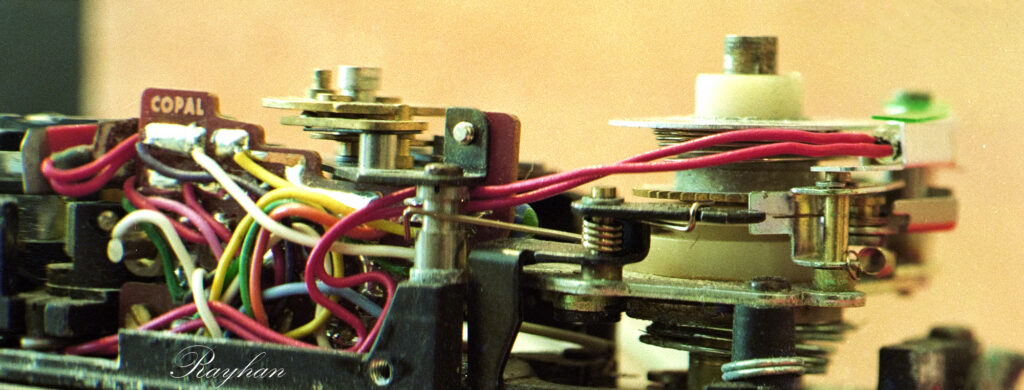
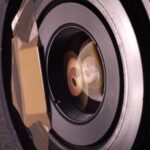
While some bellows only allow you to move the lens and camera forward and backward, others offer a tilt function.
Being able to shift the lens off-center allows you to obtain a sharp scene when you are not photographing your subject head-on.
If I hadn’t used the shift function, I wouldn’t have been able to sharpen the area with the copal and the area with the ISO selector at the same time in the following image.
Note that you can eliminate the need for shifting by using a digital technique called “focus stacking.”
A Nikon PB-4 bellows with a tilting function costs around €100. A bellows without a tilting function can be found for around €40.
d. Close-up lens
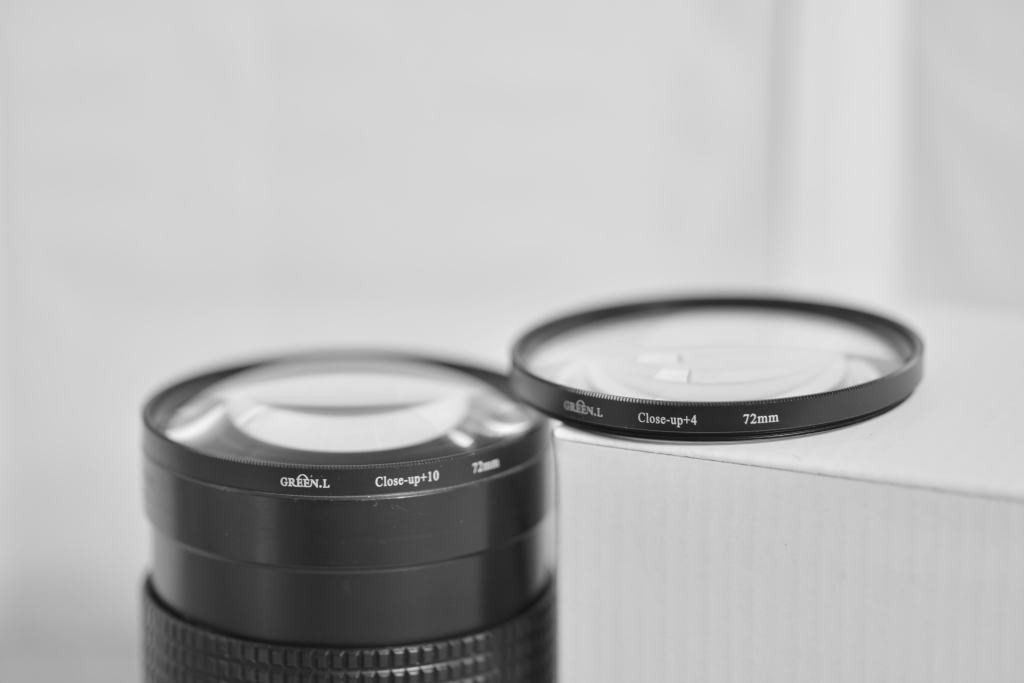
It’s not the most intuitive option when you think about image quality. Its main advantage is that it can be set up very easily: it’s as simple as screwing on a filter.
Prices vary from ten to hundreds of euros depending on the optical quality of the lens.
3.2. Lighting the subject
Getting closer to your subject isn’t everything; you also need to light it. Several options are available (LED panels, traditional flash, etc.).
But the best option is to use a ring flash. Attached to the front of the lens (it screws on like a filter), it allows you to illuminate your subject even when you’re very close (which is necessary for high magnifications).
Expect to pay €70-150 for a ring flash.
3.3. Keeping the camera stable
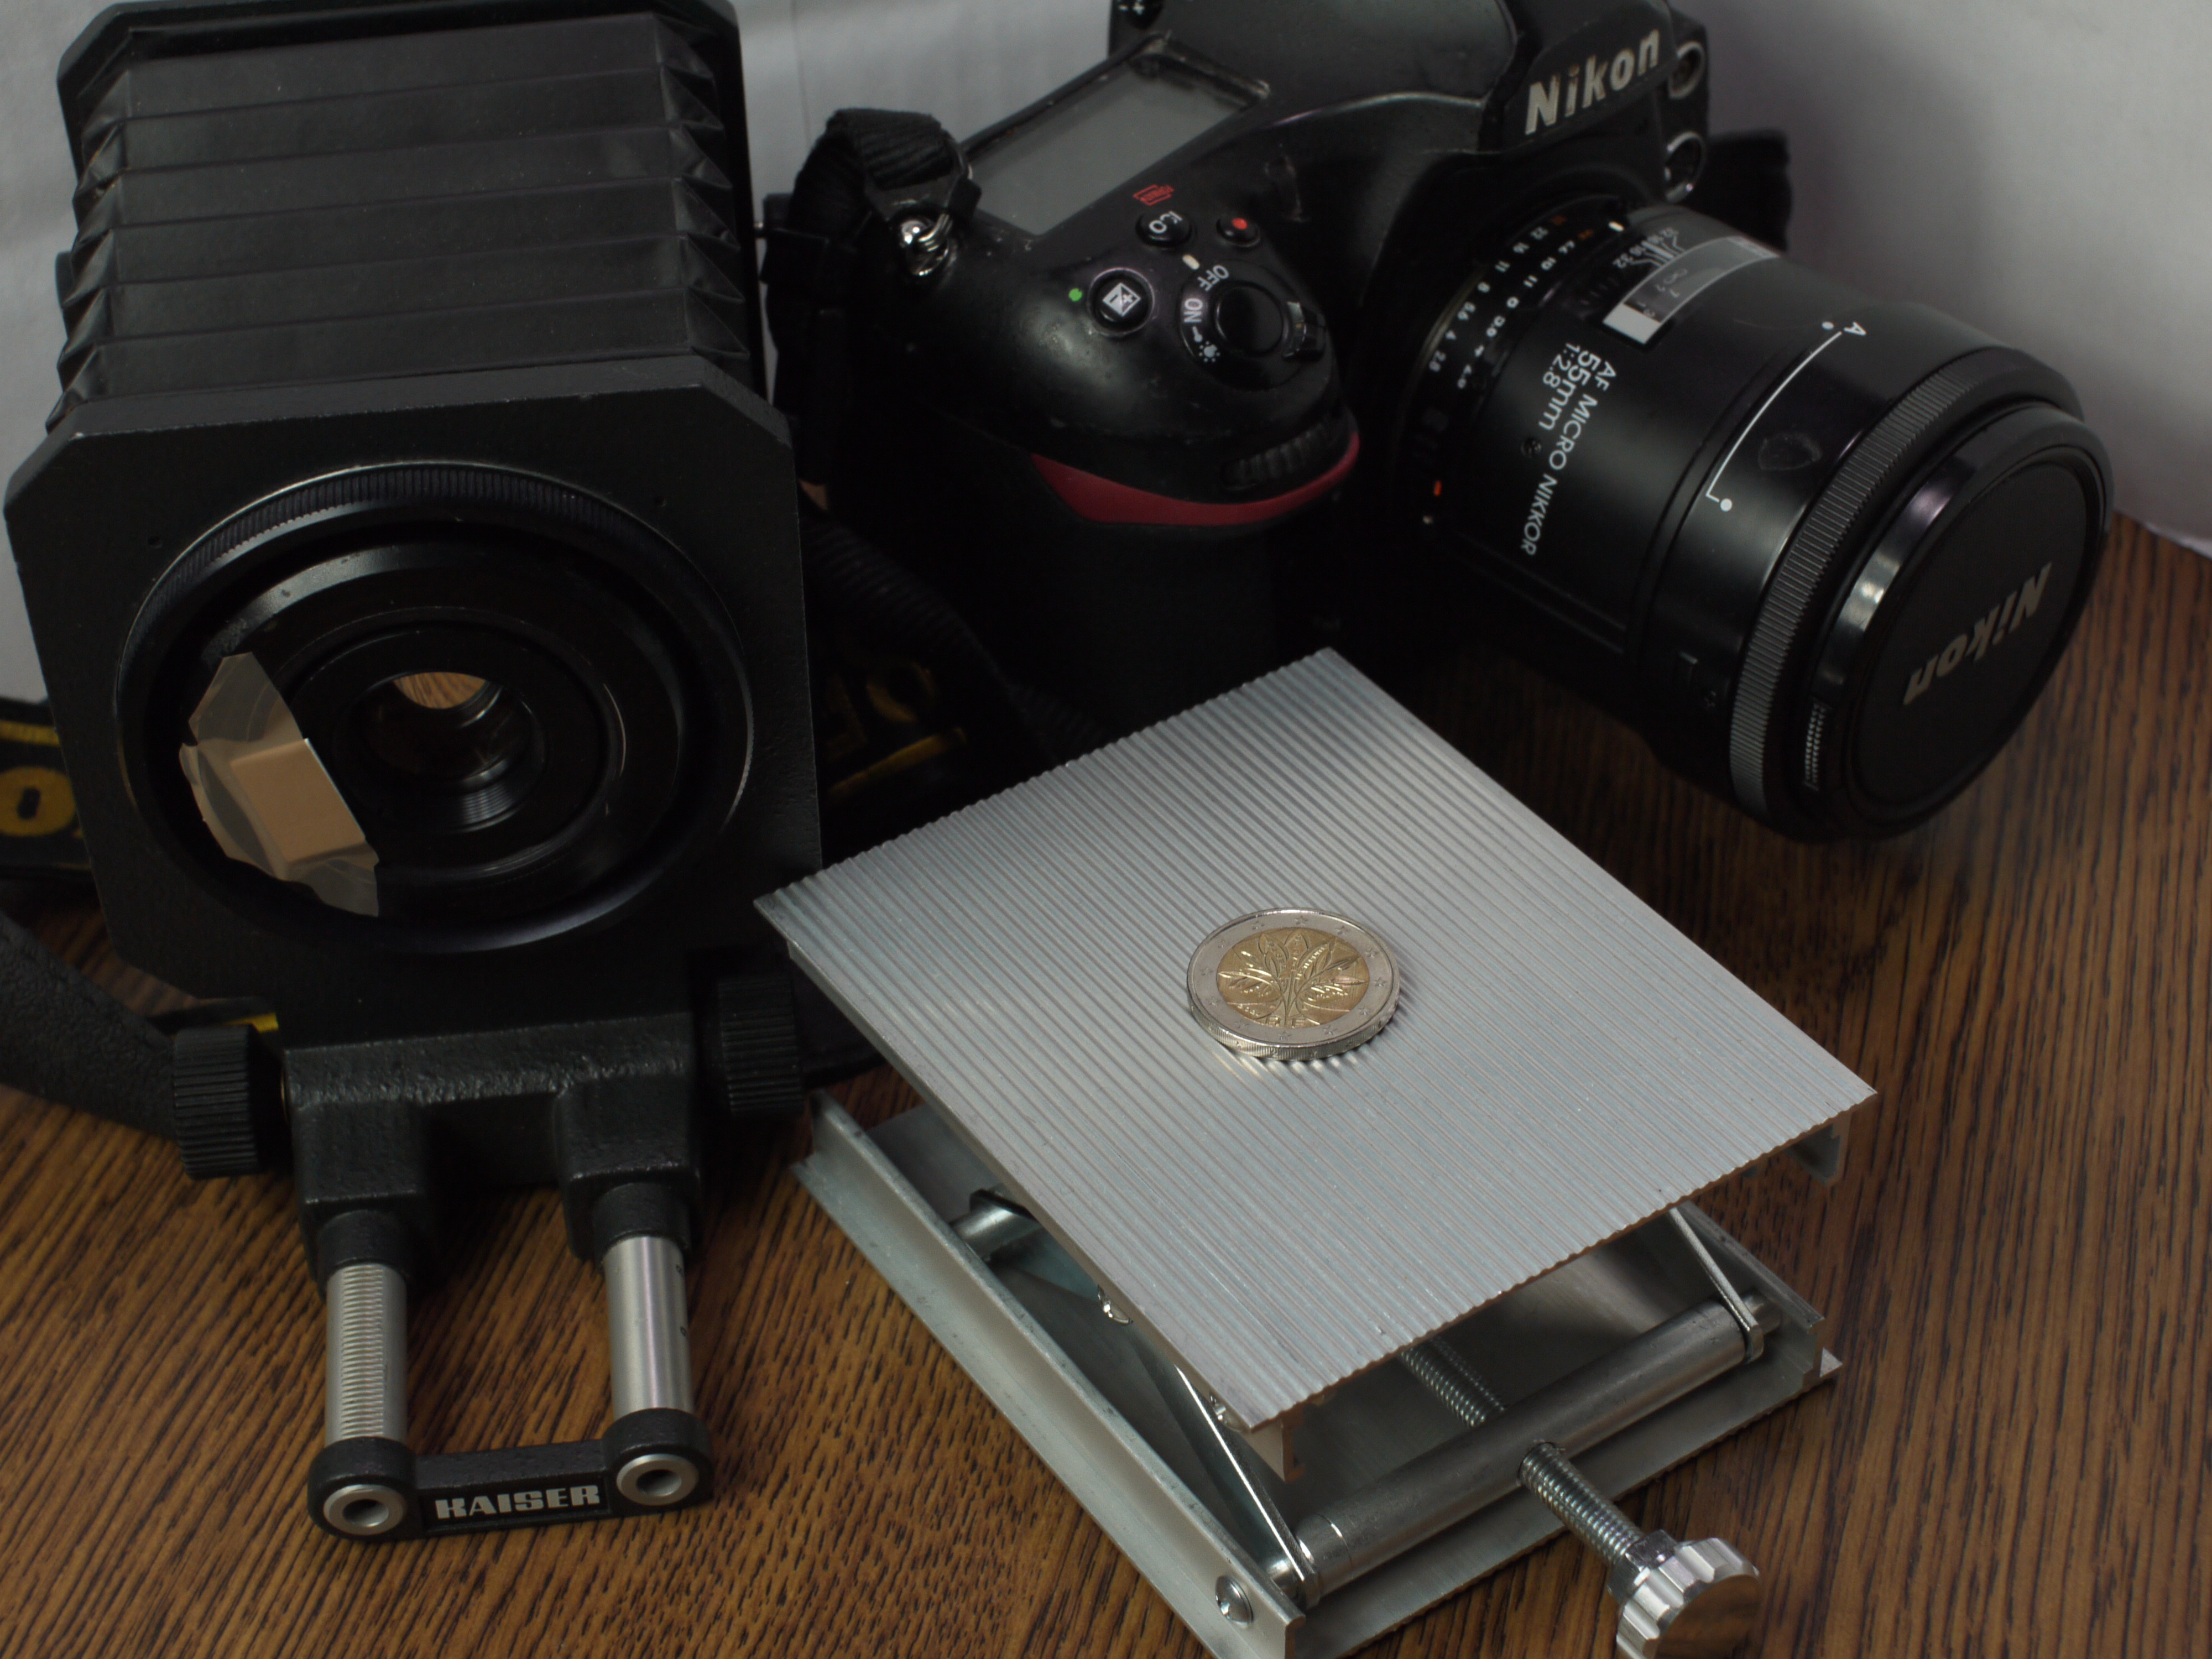
Tripod or reproduction stand
In macrophotography, a little movement can mess the focus and generate blurry images.
Using a stable tripod is then or a reproduction is then necessary.
If you use a reflex, raise the mirror before taking a picure if possible.
How to do handheld macrophotography
If you don’t want or can’t (for example if you’re photographing insect) use any of these, you can contourn this problem with a digital camera:
- Use a high enough shutter speed to avoid;
- And use bust mode extensively to fight the focusing issue: the focus will be bad on some of the pictures of the stack, but all you need is just one photo.
3.4. Positioning the object correctly
Having a lifting platform that raises and lowers to precisely adjust the object’s height is a significant advantage when not working freehand.
III. Summary
To sumarize, if you want to do macrophotography you’ll need:
- A lens with the appropriate accessory that will for getting a large enough magnification.
- A macro flash ring for a minimum of comfort
And if you want to do it in perfect condition for still objects:
- A tripod or reproduction bench
- An elevation table
- Various lightning if you want to control this parameter with precision


Leave a Reply